
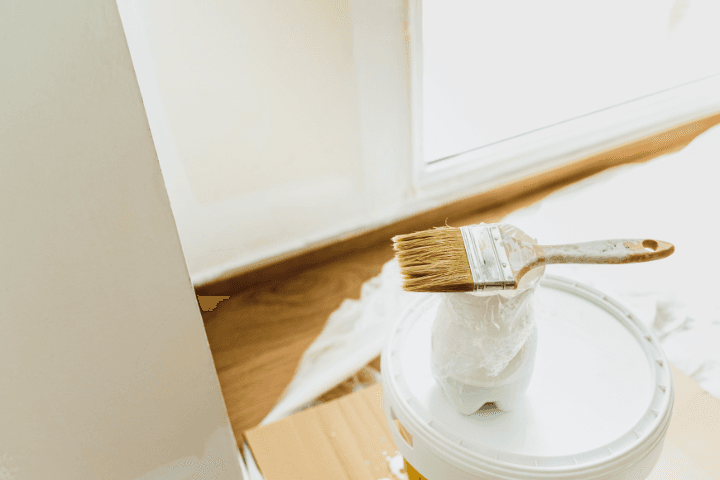
Anyone who has taken on the task of painting a ceiling knows how hard it can be... Frustration can continue until the very end of the process when you finally take a look at the finished job and realize that marks or light spots appear on your ceiling.
Here are 5 tips to follow to paint your ceiling like a pro!

How to paint a ceiling like a pro
1- Clean your ceiling and fill in holes
Can't wait to get to work? Wait a little longer and take care to clean your ceiling to remove any particles that may be on its surface. To do this, use a multi-purpose cleaner and rinse afterward. In a second step, make sure that no cracks or holes remain on your ceiling: fill them in then sand them down to flatten the surface. Following this, remove the excess joint compound. Before you start painting, make sure the surface is completely dry and that there are no imperfections left on the ceiling surface.
2- Don’t forget the primer
There’s no doubt that forgetting to use a coat of primer will end up costing you dearly in the long run. It’s useful in the way that its application makes it possible to seal the surface and to prevent your top coat from being completely absorbed. If you decide to skip this step, the absorption of the topcoat will cause marks to appear due to the lack of paint in some areas. Preferably choose a matte finish. If necessary, apply two coats of primer.

3- Paint at the right temperature
Unfortunately, you cannot paint at all temperatures. To prevent your ceiling from drying out too quickly, we’d recommend that you avoid painting at a temperature above 20 degrees. Also, never paint when the temperature is below 10 degrees, as this will cause the paint to dry too slowly.
4- Don’t open windows or doors while painting
The idea of opening doors and windows while painting may seem logical at first, either to facilitate drying or to free the room from the smell of paint, as the latter isn’t always pleasant. However, this is one mistake you should avoid. Keeping windows and doors closed will allow water that naturally evaporates from the paint to stay in the air and keep the ceiling from drying out too quickly. You will then avoid traces of paint caused by precipitated drying.
5- Use the right technique for painting a ceiling
First, we should mention that the correct technique to approach this is to use is to apply the right amount of paint. Easier said than done? To be sure that there’s enough paint on your roller, only soak it halfway and then wring it out on the grid, and avoid placing too much pressure.
Always work in sections, and this means no more than one square meter. As you progress, always go back to the previous border and each time you approach a new section, be sure to overlap with the previous one.
Another tip to follow to use the right technique is to always paint in the same direction on your entire ceiling. In addition, you should avoid exerting pressure on the roller to avoid lines from appearing on your ceiling.

6- Don't put too much weight on the roller
Don’t be too sparse with paint and apply the right amount on your roller (as suggested previously). Otherwise, you’ll need to apply pressure to the roller, which will, unfortunately, leave demarcation marks on the surface of the ceiling. If you think the traces will disappear, you should be aware that this will not be the case.
7- Choose a matte finish paint
Since glossy paint lets defects appear easily, choosing paint with a matte finish will reduce the appearance of small imperfections that may remain on the surface.
8- Don’t roll on a semi-dry surface
After the priming as well as your first coat of paint, wait at least 20 minutes for it to dry completely. Then, you can do another coat on your ceiling. If you don’t respect this rule, and instead roll on a semi-dry surface.
Get 3 renovation quotes for your ceiling painting project
RenoQuotes.com will put you in contact with 3 reliable contractors for your living room painting project. Fill in the form on our homepage (it only takes a few minutes), and you will receive quotes from trusted professionals.
Dial 1-844 828-1588 to speak with one of our customer service representatives
Looking for something else?
Related articles
The latest industry news, interviews, technologies, and resources.
Cynthia Pigeon
•29 Apr 2026
To remove a load-bearing wall in Canada, obtaining a renovation permit from your city is mandatory. This process requires submitting plans sealed by a licensed structural engineer (P.Eng.), or in some cases, an architect, depending on the scope of the project. The work must be carried out by a qualified contractor in accordance with provincial regulations. Performing this type of work without a permit can lead to fines, loss of insurance coverage, and complications when reselling your property due to non-compliance.
Editorial Team
•01 Apr 2026
Over the last few years, several types of paint have been banned due to the risks they pose to exposed professionals and dwellers alike. Today, numerous manufacturers affirm that their products are safe and reliable, even eco-friendly, further validated by specific logos featured on their labels. However, the composition of certain types of paint is far from reassuring.
Léa Plourde-Archer
•08 Nov 2023
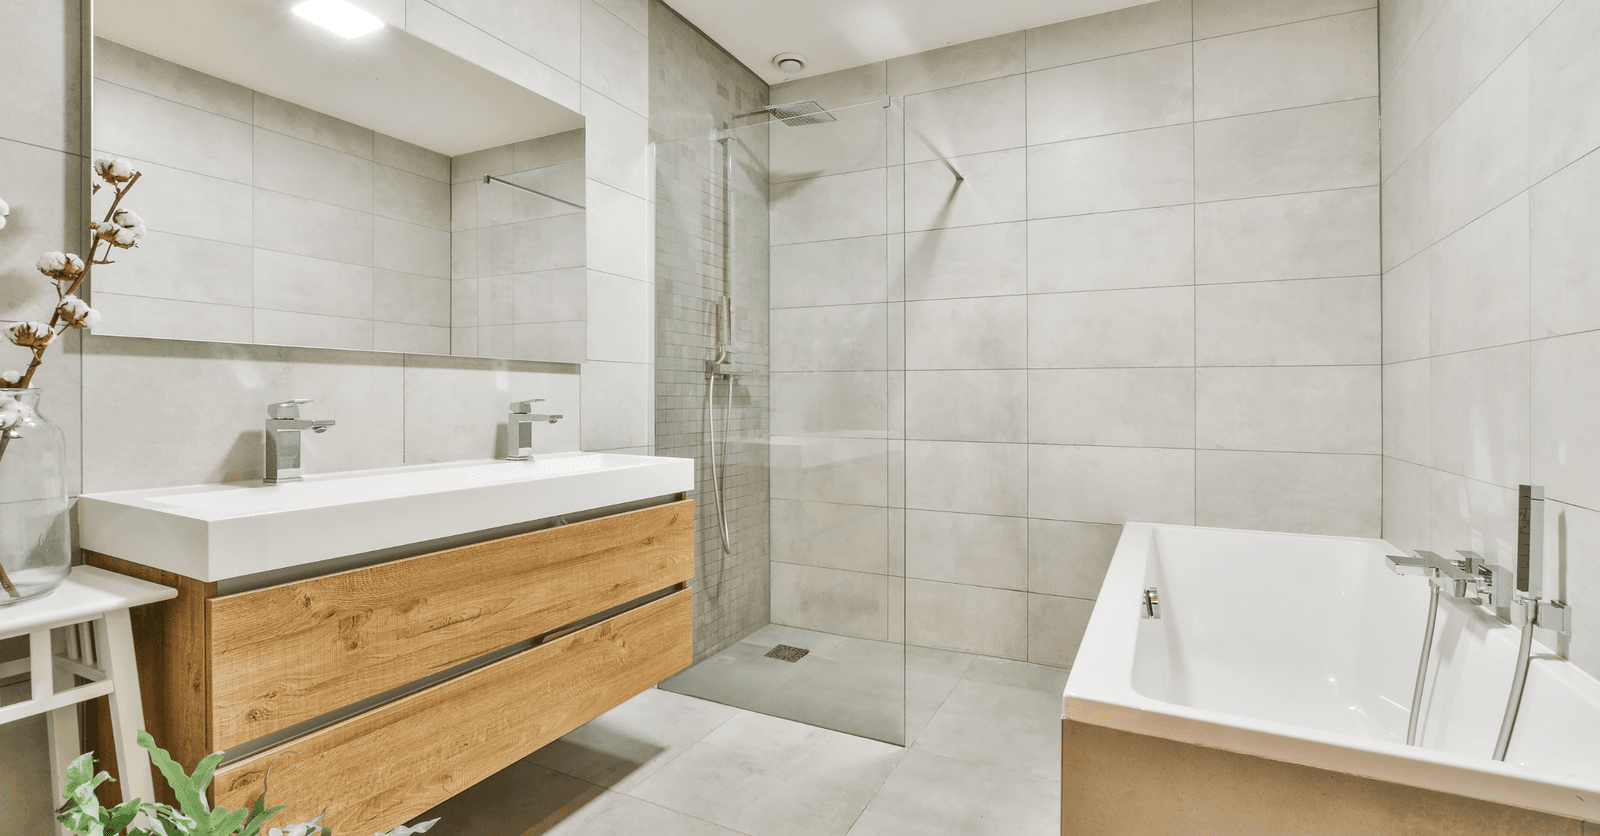
In Canada, bathrooms tend not to be very spacious, yet this part of the home is first and foremost meant to be a place of relaxation where occupants should be made to feel comfortable. By optimizing the layout of your bathroom, you can enjoy a more refined space, especially by focusing on storage furniture. Home furnishing stores are full of ideas of any kind to allow you to optimize every inch of the room. There is something for everyone and all budgets!

Cynthia Pigeon
•27 Apr 2026
To successfully build an accessory dwelling unit (ADU) in Canada, you need to hire a licensed contractor who understands complex utility connections and evolving municipal zoning regulations. This type of gentle densification project requires strict compliance with fire safety standards and the National Building Code (or your province’s equivalent) to ensure legality and protect your property’s resale value. In 2026, working with a specialist is often the most efficient way to turn your home into a profitable asset while meeting local utility and municipal requirements.
Cynthia Pigeon
•14 May 2026
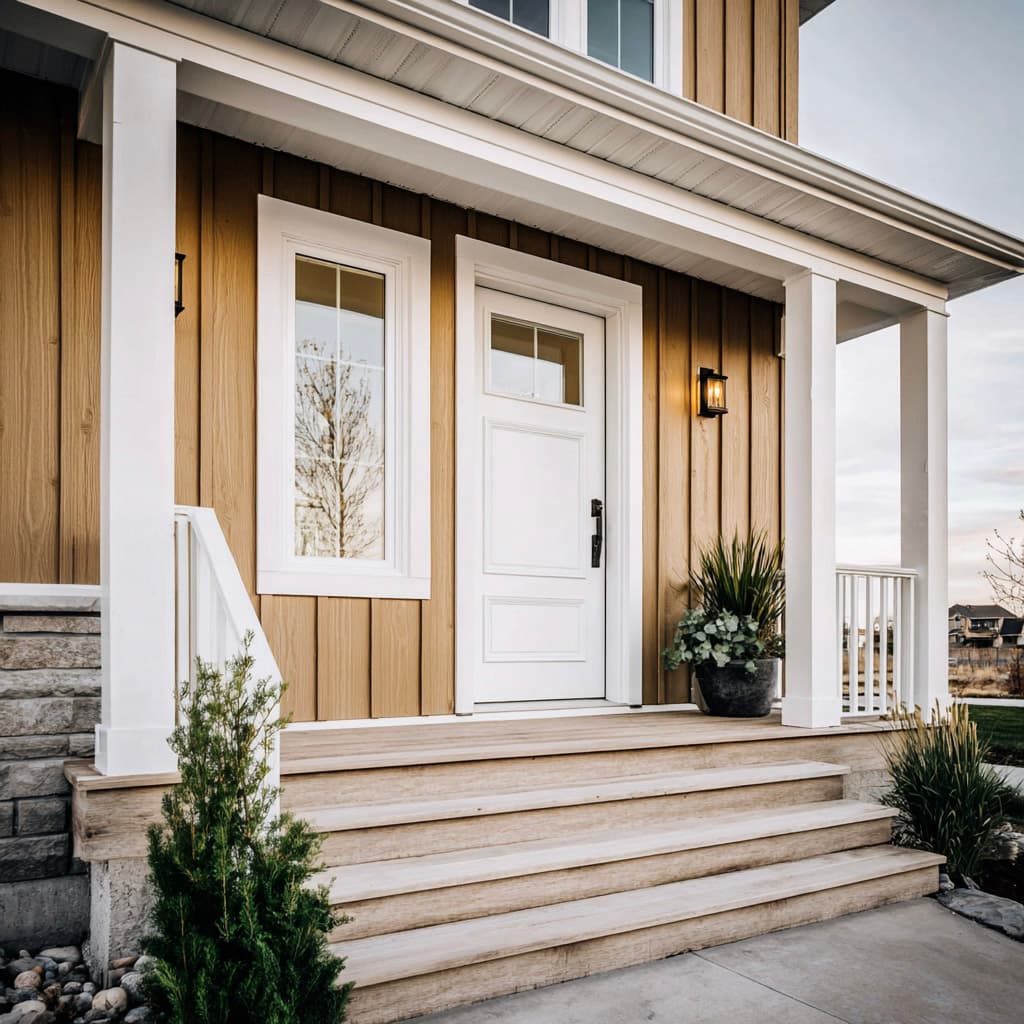
In 2026, the total cost to install CanExel siding in Quebec generally ranges from $17 to $23 per square foot, including labour and materials. For the material alone, the price can vary significantly depending on the profile, colour, retailer, and required accessories. It is therefore important to check in-store prices when planning your project. This engineered wood siding remains one of the best value options for withstanding Quebec’s harsh freeze-thaw cycles.