Finishing Drywall Joints: What to Avoid and the Different Techniques
By Cynthia Pigeon
Updated on April 28, 2026
Coating drywall joints to obtain a smooth wall is an art form in itself. Although still widely used to achieve an appealing finish, one must still take into account the errors normally done by novice renovation workers while undertaking this type of project to avoid making them in turn.
Also, it can be pretty useful to note the differentiating techniques used to coat and finish drywall joints to choose the one that suits you best. But, most importantly, what exactly are the blunders one should avoid making when coating and finishing drywall joints?
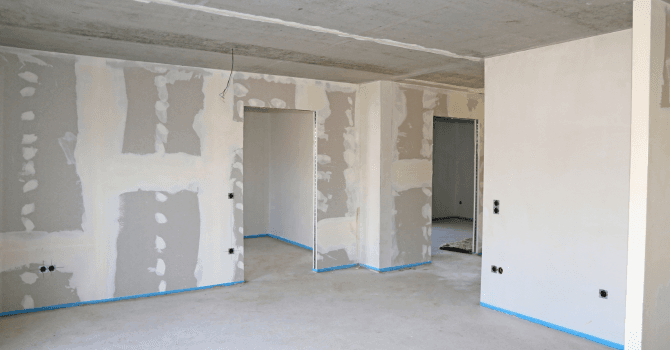
Errors to Avoid When Finishing Drywall Joints
Source: Canva
First things first, avoid finishing drywall joints in rooms that aren’t sheltered from the elements: cold, rain, or wind. Indeed, adverse weather conditions won’t allow the joints to dry fully, which will cause cracks.
Secondly, note that you should never proceed to coat and finish drywall joints on unstable gypsum boards. Ignoring such detail to complete the coating and finishing as soon as possible will be useless in the end since the product will crack in no time and you’ll have to start all over once the state of the structure is rectified.
Another common mistake is thinking that a single layer of joint compound is all that is needed to conceal the hole left behind from the screw. Regarding this matter, a thick layer (even on a small area) will crack. You’ll then need to start over, which can be quite irritating.
Layers of Joint Compound
Neglecting to apply the recommended three layers is strongly advised against, as this time-saving method can compromise the sturdiness of the joints. Furthermore, you’ll need to smooth out the joint compound at least three times before allowing it to dry, as to avoid air bubbles forming, which can be quite tricky to remove once at the sanding stage. Along the same lines, if you don’t allow the product to dry properly (usually for about 18 to 24 hours) between the layers, the outcome will be negatively affected.
Hence, it isn’t recommended to finish drywall joints less than 24 hours after the first gypsum board is installed. Besides, the same goes for the recommended time allotted when applying the last layer of joint compound and the finishing product.
Type of product used
Another common mistake is to finish drywall joints around corner braces with a compound (cement) for standard joints when it’s more appropriate to use rapid-set cement. That way, it’ll also be way easier to have a smooth finish and aesthetically pleasing joint.
It should be noted that overlapping joint strips can create bulging on the surface of the wall, so this too should be avoided at all costs.
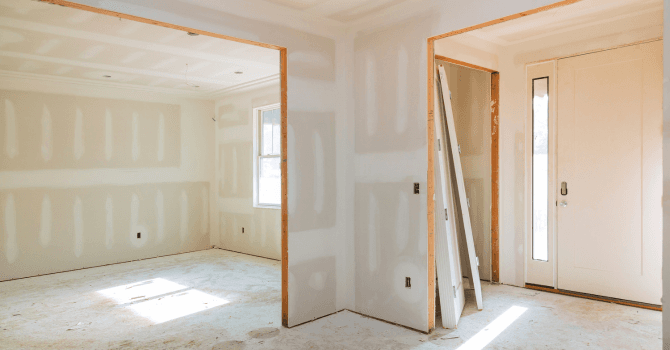
The Different Methods of Finishing Drywall Joints
Source: Canva
There are two major differences in the suggested methods of finishing drywall joints. The first is the type of joint tape which can be used. Some will use adhesive tape, which has a criss-cross surface, and as its users will claim, has a better adherence than regular tape.
As for the latter, it seems like it’s mostly chosen for its smooth texture and because it’s easier to conceal once the joint compound is applied. However, the risk of bubbling is greater than with adhesive tape, which is unlikely to peel off the surface. In some cases, people will use adhesive tape for horizontal joints and regular tape for cross joints.
Secondly, some suggest only sanding the surface once, after the third layer. Although proceeding this way is possible, it can render removing any excess compound applied during the previous steps more difficult. Normally, it’s recommended to sand the surface after the second and third layers.
Get 3 renovation quotes for your finishing drywall joints project
RenoQuotes.com can help you get quotes for your finishing drywall joints project. By submitting your project, we’ll put you in contact with top-rated contractors. Fill in the form on the homepage (it only takes a few minutes), and you will get estimates from trusted professionals.
Dial 1-844 828-1588 to speak with one of our customer service representatives.
Looking for something else?
Related articles
The latest industry news, interviews, technologies, and resources.
Editorial Team
•13 Apr 2026
A study conducted by Reno Quotes reveals that at least one in five contractors recommended by artificial intelligence operates without a valid license in Quebec, a mistake that could prove costly for homeowners, especially as households invest heavily in residential renovations.

Editorial Team
•02 Aug 2024
The kitchen is a space of collaboration and cohabitation, where friends and family gather to cook, clean and hang out. Many important elements and fixtures occupy this room, and often overlooked is the humble backsplash.

Editorial Team
•08 Nov 2023
We’d all love for our interior and exterior walls to stay bright and fresh as if newly painted. Of course, paint doesn’t last forever and will often give in to the effects of time as well as the wears of everyday life. Have you noticed your paint starting to have a discoloured appearance? If you run your hands over your walls and find a white, chalky substance, this means that you’re dealing with something referred to as paint chalking.

Editorial Team
•12 May 2025
Crown moulding has been a decorative staple dating as far back as ancient Greece. This is likely due to the fact that they understood how much it can help liven up a space. The name refers to a family of mouldings which are aesthetically designed to shape and accentuate the top edge where the ceiling meets the wall.
Editorial Team
•10 Sep 2024
Looking to upgrade your kitchen cabinets and revamp one of the most used areas of your home? All you need to do is head to your nearest hardware store to realize that options aren’t lacking!