How to Build a Floating Deck: Step-by-Step Guide
By Editorial Team
Updated on October 9, 2026
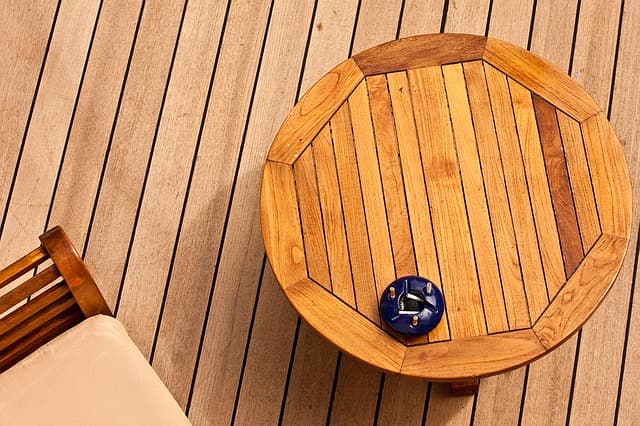
A floating deck is a free-standing structure that rests on concrete deck blocks rather than attaching to your house. No ledger board, no frost-depth footings, and in most municipalities no permit, which makes it the most approachable deck project there is and a reasonable first carpentry job.
Materials for a 10 by 12-foot floating deck run roughly $1,000 to $2,300 depending on your decking choice, and a competent DIYer can build one over two weekends. This guide covers planning, ground preparation, framing, and decking, with the specifications that separate a deck that lasts from one that sags in three years.
What Makes a Deck "Floating"
Source: Pixabay
A floating deck, also called a freestanding or grade-level deck, rests on the ground surface rather than being anchored to the home's foundation.
Precast concrete deck blocks sit on compacted gravel and support the framing directly. Because the deck isn't attached to the house, it can move slightly with seasonal ground movement without damaging anything.
Floating deck | Attached deck | |
Connection to house | None | Ledger board bolted to rim joist |
Footings | Deck blocks on gravel | Concrete piers below frost line |
Typical height | Under 24 inches | Any |
Permit, typically | Not required | Required |
DIY difficulty | Moderate | Advanced |
The trade-off is height. Floating decks work well close to grade. If one side of your site would sit more than two feet off the ground, support that section on 6×6 posts over frost footings instead, which is both safer and better looking.
Planning Your Deck
Check Permit Requirements First
Most Canadian municipalities don't require a permit for a freestanding deck under a certain size and height, commonly 200 square feet and 24 inches.
That threshold varies, and some municipalities regulate floating decks the same as attached ones. Call your building department before buying material. It takes ten minutes and it's the only step that can force you to dismantle finished work.
Property line setbacks apply regardless of permit requirements.
Size and Layout
Choose a relatively flat area with good drainage. Avoid low spots where water collects and areas directly beneath roof runoff.
Draw a dimensioned sketch before you buy anything. Include the overall width and length, the position of each joist, and the location of every deck block. You'll reference it constantly at the lumber yard and throughout the build.
A 10 by 12-foot deck is a practical starting size: large enough for a table and chairs, small enough to build in a weekend, and under the permit threshold in most municipalities.
Materials List
For a 10 by 12-foot deck:
Material | Quantity | Approximate cost |
Concrete deck blocks | 12 to 15 | $85 to $150 |
2×6 pressure-treated, 12 ft | 2 pieces | $30 to $50 |
2×6 pressure-treated, 10 ft | 10 to 12 pieces | $150 to $250 |
Decking boards | 132 sq. ft. (120 plus 10% waste) | $500 to $1,500 |
Joist hangers | 16 to 20 | $50 to $90 |
¾-inch crushed stone with fines | 0.5 cubic yards | $25 to $40 |
Landscape fabric | One 4 × 50 ft roll | $15 to $25 |
Joist tape | 1 to 2 rolls | $25 to $50 |
Deck screws, 2½ inch | 5 lb box | $30 to $45 |
Structural connector screws | 1 box each size | $40 to $70 |
The two lumber lengths matter. The 12-foot boards are your long rim joists. The 10-foot boards cover the two end joists plus eight interior joists at 16-inch spacing, with two or three spare for mid-span blocking.
Ask for ¾-inch crushed stone with fines, sometimes sold as crusher run or road base. Clear stone drains well but won't compact into a dense pad, because it has no fine aggregate to lock the stones together.
Pressure-treated lumber is the right choice for framing anywhere in Canada. It resists rot and insects and handles the freeze-thaw cycling that destroys untreated wood.
For decking, pressure-treated is cheapest, cedar costs more and looks better, and composite costs most and needs no maintenance.
Tools
Tool | Purpose |
Circular saw or mitre saw | Cutting lumber to length |
Drill and driver | Fastening |
4-foot level | Levelling blocks and framing |
String line and stakes | Laying out the perimeter |
Tape measure | Everything |
Carpenter's square | Checking corners |
Spade and mattock | Removing sod |
Hand tamper | Compacting the gravel base |
Rubber mallet | Seating blocks |
Spray paint | Marking block locations |
Wheelbarrow | Moving gravel |
Ground Preparation
Source: Construction Karéco inc
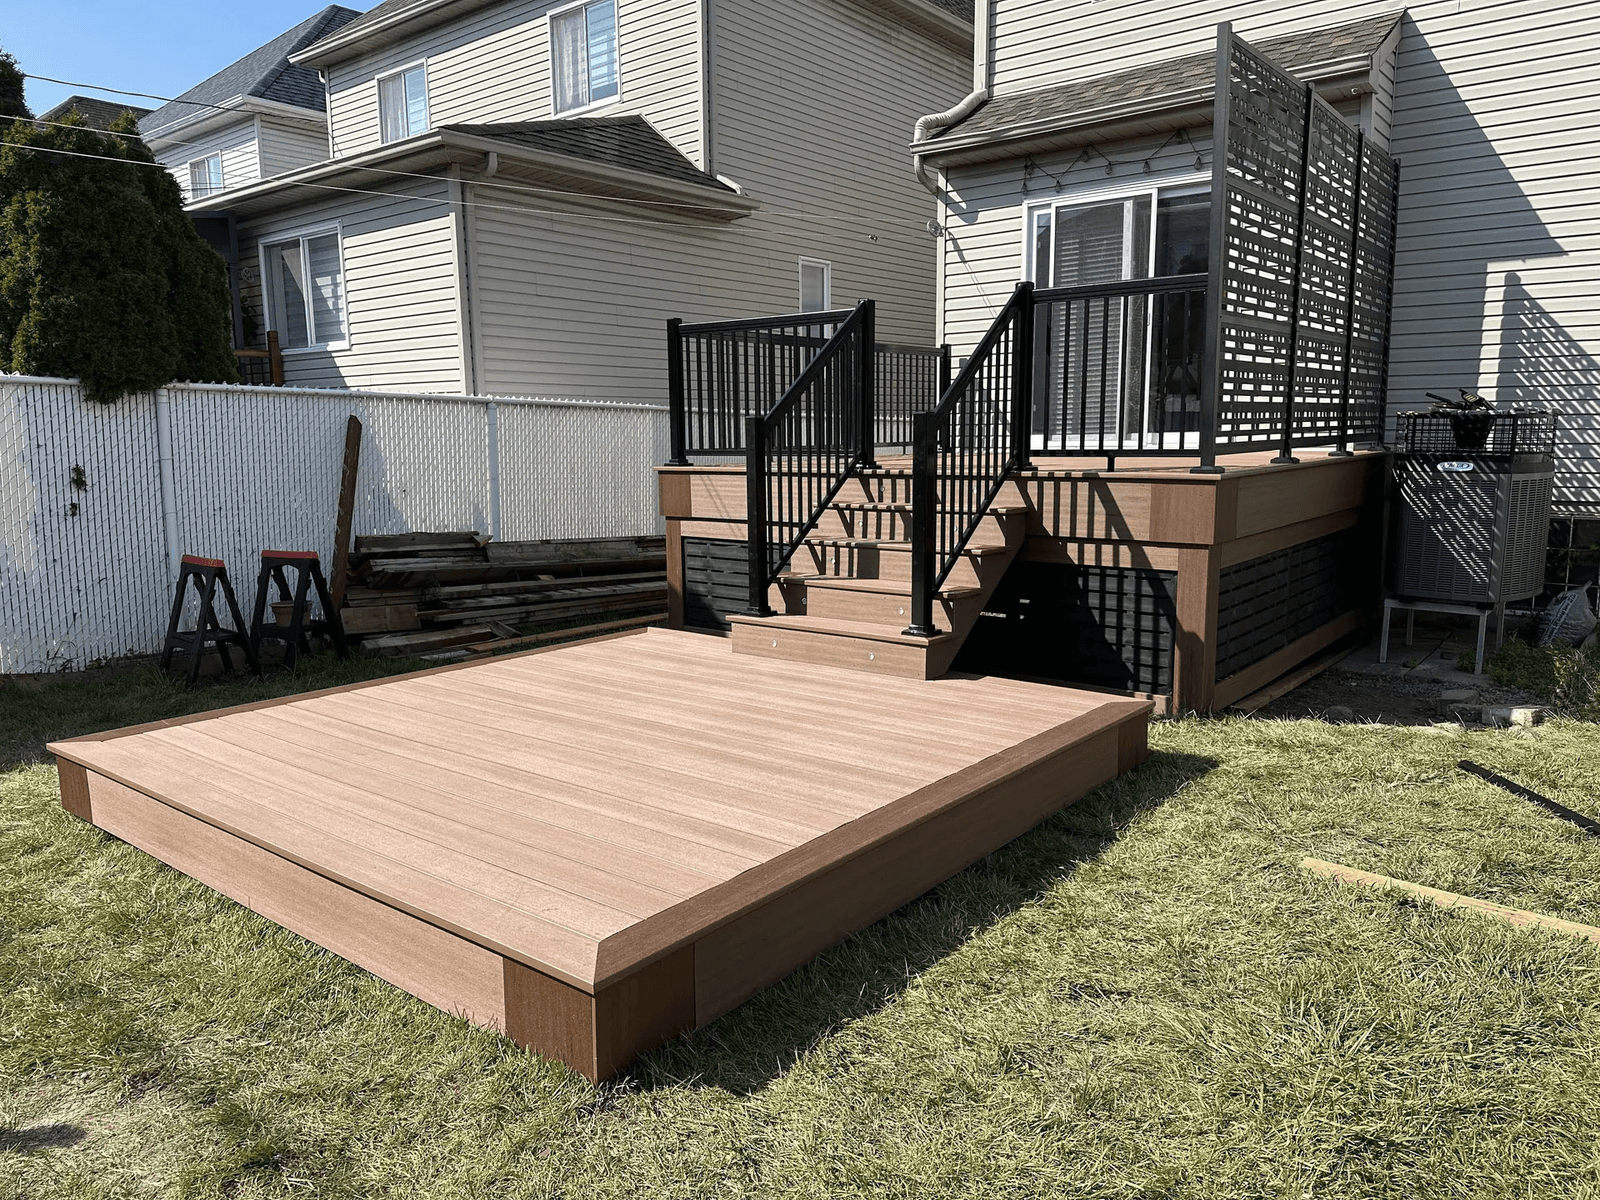
This is the step most DIY builds rush, and it's the one that determines whether the deck stays level. A deck block set on turf will sink. A deck block on compacted gravel won't.
Mark the Layout
Drive landscape stakes at the four corners of your planned deck and run string lines between them.
Check for square by measuring both diagonals. If they're equal, the layout is square. If not, adjust until they are, because every later step depends on this.
Mark each deck block location with spray paint. Blocks go at every corner, along each joist line, and at intervals of no more than 4 to 6 feet.
Remove the Sod
Strip sod and topsoil from the entire deck footprint, going down 4 to 6 inches at each block location.
Don't dig deeper than you'll backfill. A block sitting in a 9-inch pit with 3 inches of gravel ends up below grade, which creates a basin that collects water against the framing. The top of each block should finish level with or slightly above the surrounding grade.
You can leave the area between blocks at grade if you prefer, though clearing the whole footprint makes the weed barrier easier to install and keeps the area under the deck tidier.
Set the sod aside. It composts well, or it can patch bare spots elsewhere in the yard.
Lay the Weed Barrier
Cover the entire exposed area with landscape fabric, overlapping sections by at least 6 inches at the seams and pinning it down with landscape staples.
This is what stops grass and weeds growing up through the deck boards, and it's far easier to install now than to deal with later. Black tarp or plastic sheeting is a poor substitute, since it traps moisture rather than letting it drain through.
A fabric barrier also discourages ants and other insects from nesting directly under the deck.
Build the Gravel Base
At each block location, add 4 inches of ¾-inch crushed stone with fines over the fabric, in a pad roughly 24 by 24 inches.
Compact it with a hand tamper, in two lifts of 2 inches rather than one of 4. Loose gravel settles under load and takes your level with it.
The gravel does two jobs: it spreads the load across a wider area than the block alone, and it drains water away from beneath the block, which is what limits frost heave. Deck blocks don't need to sit below the frost line, but they do need water moving away from them.
Set and Level the Blocks
Place each block on its gravel pad and seat it with a rubber mallet.
Set one block as your reference, then work outward. Lay a straight 2×6 across two blocks at a time with a 4-foot level on top, adding or removing gravel until each matches the reference.
Every block should sit level with or slightly below the reference block, never above. Blocks sitting high create a hump you can't frame out.
Check both directions on every block. This is tedious and it's where the build is won.
Building the Frame
Lumber Sizing
Use 2×6 pressure-treated lumber for the frame, which is the minimum for deck framing. Some builders step up to 2×8 on longer spans for additional stiffness.
A 2×6 joist spanning 10 feet at 16-inch spacing will deflect noticeably underfoot. That's why the centre row of blocks matters: mid-span support cuts the effective span in half and eliminates the bounce.
Assemble the Rim
Cut the rim joists to your exact deck dimensions, using the 12-foot boards for the long sides and cutting two 10-foot boards to the width minus 3 inches for the ends.
Form the corners by butting the shorter boards inside the longer ones.
Fasten with structural screws, three per corner, pre-drilling to prevent splitting.
Check square by measuring the diagonals and adjusting until they match.
Build the frame beside the blocks rather than on them. A 10 by 12 frame is light enough for two people to lift into position once assembled.
Mark and Hang the Joists
Mark joist positions at 16 inches on centre along the inside of both long rim joists, measuring from the same end on each so the marks align.
Composite decking sometimes requires 12-inch spacing. Check the manufacturer's specification before marking.
Draw vertical lines at each mark with a speed square.
Fasten joist hangers on the lines using joist hanger nails or structural connector screws rated for shear load. Standard deck screws are not acceptable here, since they snap under shear. Connector screws such as Simpson SD are code-rated and considerably easier to drive than nails inside a tight frame.
Cut each joist to fit snugly between the rim joists.
Seat the joists in the hangers and fasten through every hole.
Concealed-flange hangers give a cleaner look where the frame will be visible, though standard hangers work equally well structurally.
Apply Joist Tape
Run self-adhesive joist tape along the top edge of every joist and rim joist before decking.
This is cheap and it meaningfully extends frame life. Every deck screw you drive creates a hole where water sits against the lumber. Joist tape seals around the fastener and keeps water out of the end grain.
Set the Frame on the Blocks
Lift the completed frame onto the blocks, positioning each joist so it bears on a block.
Check level across the whole frame in both directions. Small discrepancies can be corrected with cedar shims between the block and the joist. Larger ones mean adjusting the gravel beneath the block.
Build level, not sloped. The quarter-inch-per-foot slope rule applies to attached decks shedding water away from a house. A freestanding deck drains through the gaps between boards, and sloping it makes furniture sit oddly.
Installing Deck Boards
Source: Decktech Construction Rénovation
Start Square
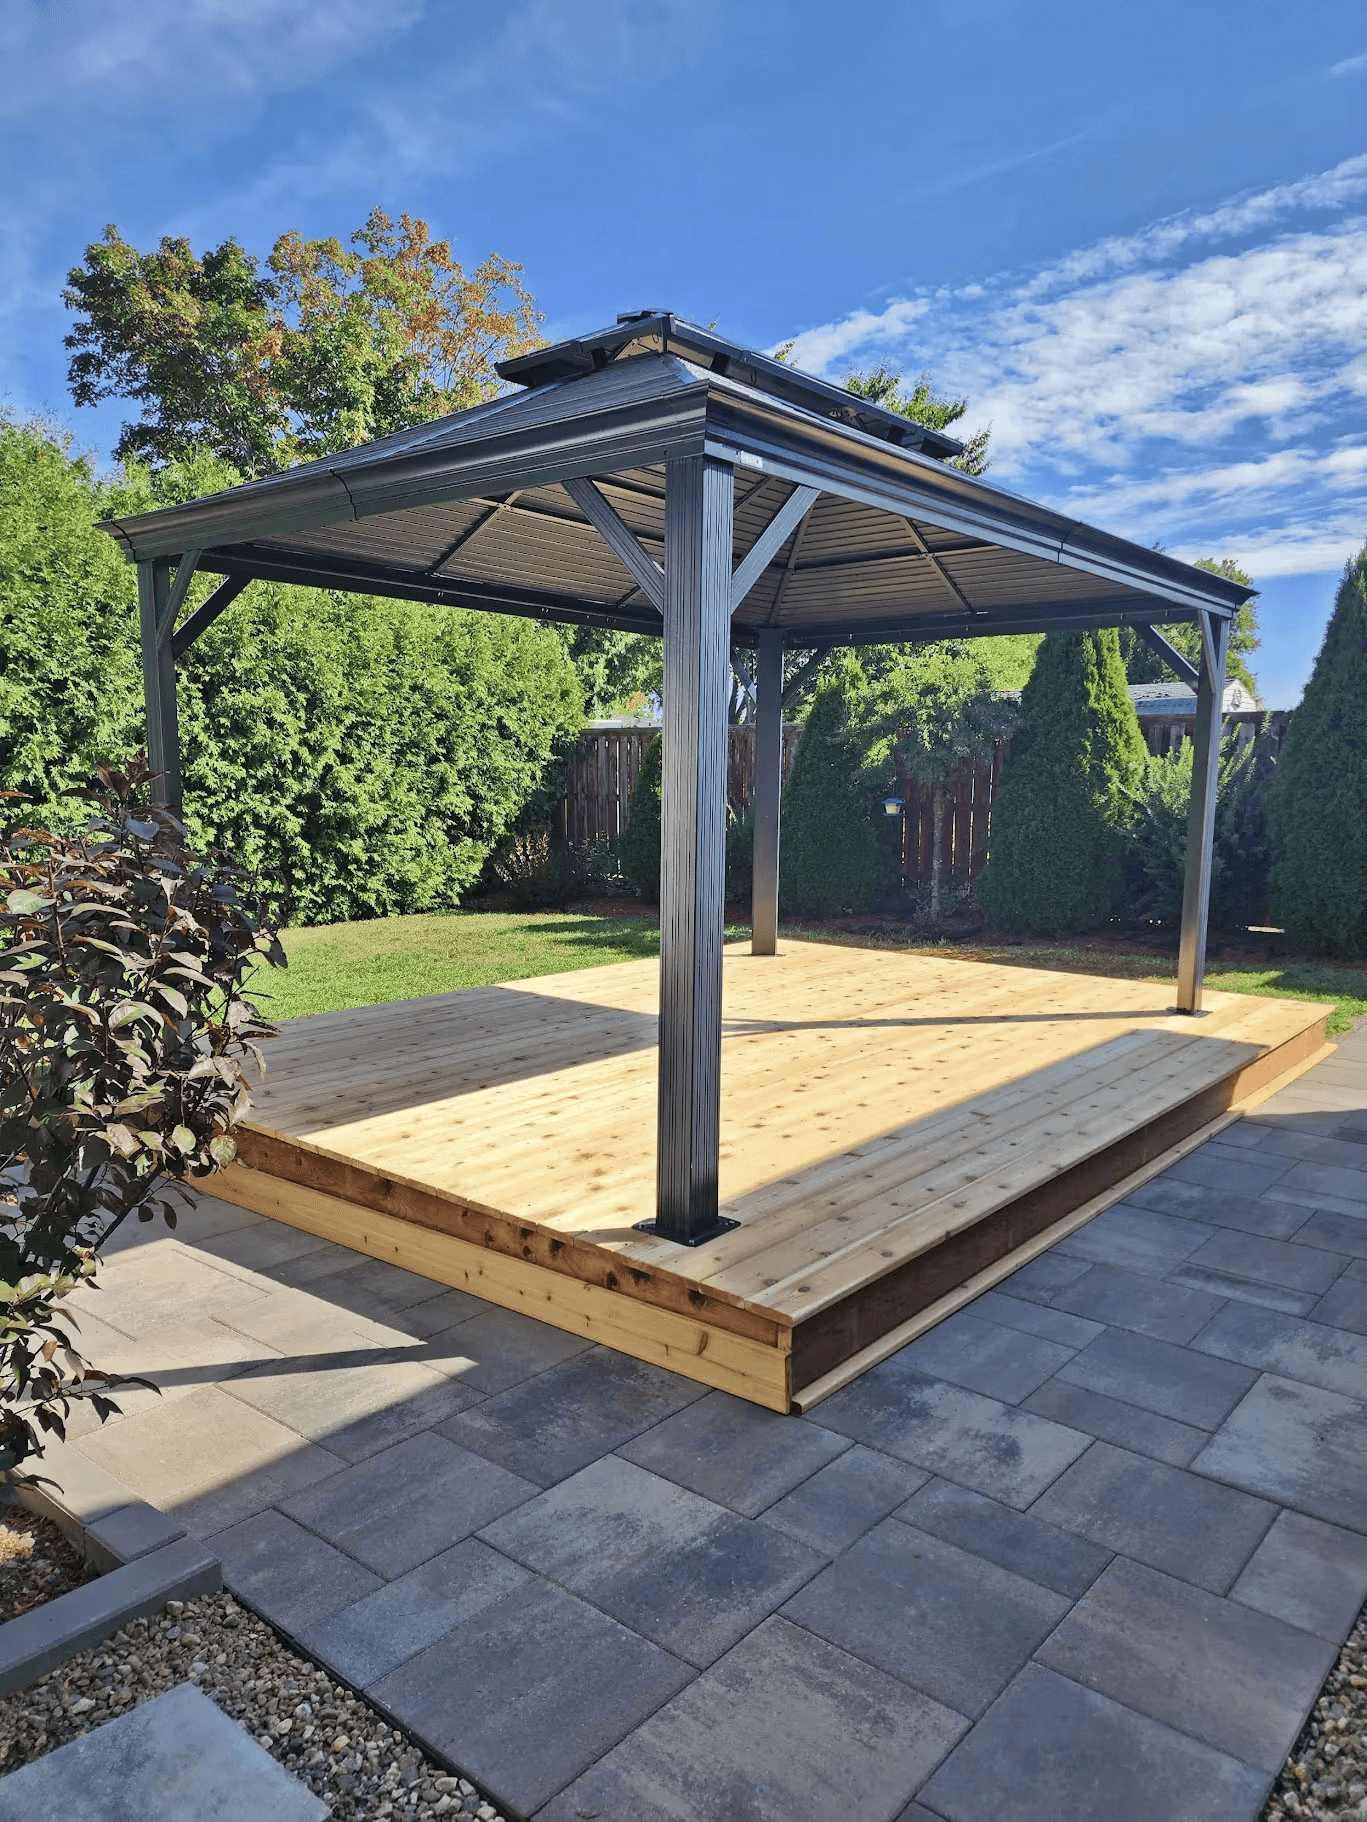
The first board determines every board after it. Lay it flush with the outside edge of the rim joist and check it square to the frame before fastening anything.
If the first board is askew, every subsequent board compounds the error until it's visible from across the yard.
Fastening
Drive two screws at each joist, positioned about an inch from each edge of the board.
Keep screws in a consistent line across the deck. A chalk line snapped along each joist position makes this straightforward, and the result looks considerably more professional.
Check your spacing every four boards by measuring to the opposite rim joist. Small errors accumulate, and catching them early means adjusting one gap rather than ripping a board.
Board Spacing
Leave a ⅛-inch gap between boards for drainage. Ripped scraps of treated lumber make good spacers.
How much gap depends on the lumber's moisture content. Wet pressure-treated boards shrink as they dry, so they can be laid tight. Dry cedar and composite boards need the full gap, since they expand and contract with temperature and moisture rather than shrinking once.
Handling Crooked Boards
Some boards arrive bowed. Sort them as you unload and use the straightest for the first and last courses, where any curve is most visible.
A mildly bowed board can be forced into line with a pipe clamp or a pry bar against a scrap block screwed to the joist. Badly crooked boards should be cut up for blocking rather than fought.
Trimming and Finishing
Run boards long over the edges and trim them all at once with a circular saw against a straightedge. The result is far straighter than cutting each board to length.
Leave a 1 to 2-inch overhang past the rim joist, which looks intentional and sheds water clear of the frame.
For a finished look, mitre the corners of a perimeter border board, or add a deck board border running perpendicular to the field boards.
Sealing and Staining
Let pressure-treated lumber dry before finishing, typically several weeks to a few months depending on weather. Sprinkle water on the surface: if it beads, the wood isn't ready. If it absorbs, it is.
Sand any rough spots, then apply a water-repellent sealer or a stain with UV protection. Plan to reapply every two to three years on a pressure-treated or cedar deck.
Common Mistakes
Setting blocks on turf or soft soil: They sink within a season. Every block needs a compacted gravel pad.
Digging deeper than you backfill: A block below grade sits in a water basin. Dig 4 to 6 inches and backfill 4 inches of compacted gravel.
Skipping the weed barrier: Grass grows through the gaps and you can't reach it to cut.
Using 2×4 framing: Undersized for deck loads. 2×6 is the minimum.
Spacing joists too far apart: 16 inches on centre is standard, and 12 inches for many composite products.
Omitting mid-span support: A 2×6 spanning 10 feet bounces underfoot without a centre row of blocks.
Using standard deck screws in joist hangers: They snap under shear. Use hanger nails or structural connector screws rated for the application.
Not checking square at the start: Every later step compounds the error.
Finishing pressure-treated lumber too soon: It won't absorb the sealer until it's dried out.
Maintaining a Floating Deck
Check the level every spring. Ground settles and frost moves things, and a floating deck's great advantage is that both are easy to correct: lift the affected corner with a bottle jack, add gravel or a shim beneath the block, and set it back down. An attached deck offers no such option.
The rest is routine. Sweep debris from between the boards, since trapped organic matter holds moisture against the lumber and shortens its life. Reseal pressure-treated and cedar decking every two to three years, while composite needs washing and nothing more. Watch the perimeter each spring for weeds pushing through where the landscape fabric meets the edge, and top up the gravel border as it thins out.
Frequently Asked Questions
What is a floating deck?
A free-standing deck that rests on concrete deck blocks rather than attaching to your house. It needs no ledger board and no frost-depth footings, which makes it considerably simpler to build than an attached deck.
Do I need a permit for a floating deck?
Usually not, if it's under roughly 200 square feet and 24 inches high, though thresholds vary by municipality and some regulate floating decks the same as attached ones. Call your building department before buying material. Property line setbacks apply regardless.
How much does it cost to build a floating deck?
Roughly $1,000 to $2,300 in materials for a 10 by 12-foot deck, depending on your decking choice. Pressure-treated is cheapest, cedar costs more, and composite costs most. Hiring a contractor typically doubles the figure.
What size lumber should I use?
2×6 pressure-treated minimum for the frame and joists, with 2×8 worth considering on longer spans. 2×4 is undersized for deck framing and will deflect under load. For a 10 by 12 deck you'll need two 12-foot boards for the long rim joists and ten to twelve 10-foot boards for the joists and blocking.
How far apart should deck blocks be?
At every corner and every 4 to 6 feet along each joist line, aligned so each joist bears on a block. A 10 by 12-foot deck typically needs 12 to 15 blocks, including a centre row for mid-span support.
How far apart should joists be?
Sixteen inches on centre for most decking. Many composite products require 12 inches, so check the manufacturer's specification before marking your layout.
Do deck blocks need to go below the frost line?
No, which is the main advantage of a floating deck. They do need a compacted gravel pad beneath them for drainage, since water pooling under a block is what causes frost movement. Expect to re-level occasionally in spring.
What kind of gravel goes under deck blocks?
¾-inch crushed stone with fines, sold as crusher run or road base. Clear stone drains well but won't compact into a dense pad because it has no fine aggregate. Lay 4 inches and compact it in two lifts.
Should a floating deck be sloped?
No. The quarter-inch-per-foot slope applies to attached decks shedding water away from a house. A freestanding deck drains through the gaps between boards, and sloping it makes furniture sit unevenly.
Do I need landscape fabric under a floating deck?
Yes. It stops grass and weeds growing up between the deck boards, which you can't reach once the deck is built. Use proper landscape fabric rather than plastic sheeting, since fabric lets water drain while plastic traps it.
How long does it take to build?
Two weekends for a first-time builder on a 10 by 12-foot deck, with one weekend on layout and ground preparation and one on framing and decking. The ground work takes longer than people expect and is worth the time.
When can I stain a new pressure-treated deck?
Once the wood has dried enough to absorb finish, typically several weeks to a few months after installation. Sprinkle water on the surface: if it beads, wait. If it soaks in, you're ready.
Can I build a floating deck on a slope?
On a gentle slope, yes, by varying the gravel depth under each block. If one side would sit more than two feet off the ground, support that section on 6×6 posts over frost footings instead. Canadian codes now specify 6×6 as the minimum for post-and-beam deck construction, where 4×4 was once standard.
Looking for something else?
Related articles
The latest industry news, interviews, technologies, and resources.
Karine Dutemple
•08 Nov 2023
Do you have lots of energy to spare and are thinking about buying a house to flip it? Take a look at these few examples of flips to find ideas for this large-scale project!
Editorial Team
•17 Feb 2026
The installation of foundation drainage systems must comply with the Quebec Construction Code as well as the requirements of the Régie du bâtiment du Québec (RBQ). In practice, professionals also refer to standards from the Bureau de normalisation du Québec (BNQ) for material selection and installation methods.
Editorial Team
•12 Mar 2026
Balcony decking is as abundant as it is diverse. While wood ranks amongst the top favourites, fibreglass isn’t far behind, quickly gaining popularity.

Editorial Team
•23 Sep 2026
Are you a fan of refined and minimalist designs or are you more partial to those that mirror your flamboyant personality? Rest assured, there’s something for everyone this year. Natural, back-to-basics, and high-spirited colours are trending and to be featured on your walls! Here’s a rundown of the paint colour trends major retailers have forecasted for 2023.

Léa Plourde-Archer
•08 Nov 2023
If you need a little bit of help to organize your home improvement project, we're here to help! We have prepared checklists that you can consult to help guide you through the different stages of the project.