
Wood varnishes are in place to protect the natural textures and colour of the hardwood while adding an additional attractive shine and finish. However, it is only natural for your hardwood floor varnish to wear over time, as floors come up against constant movement leading to the potential for scuffing and stains. Of course, a hardwood floor can easily be re-stained with a little bit of time and a fair amount of elbow grease.
There are several possible methods for homeowners to follow to refinish their floors. If you’re ready to take on the task yourself and looking for a step-by-step guide to follow, search no further. Below, you’ll find everything you need to strip and refinish your hardwood floors!
Here's how to strip and refinish hardwood floors!
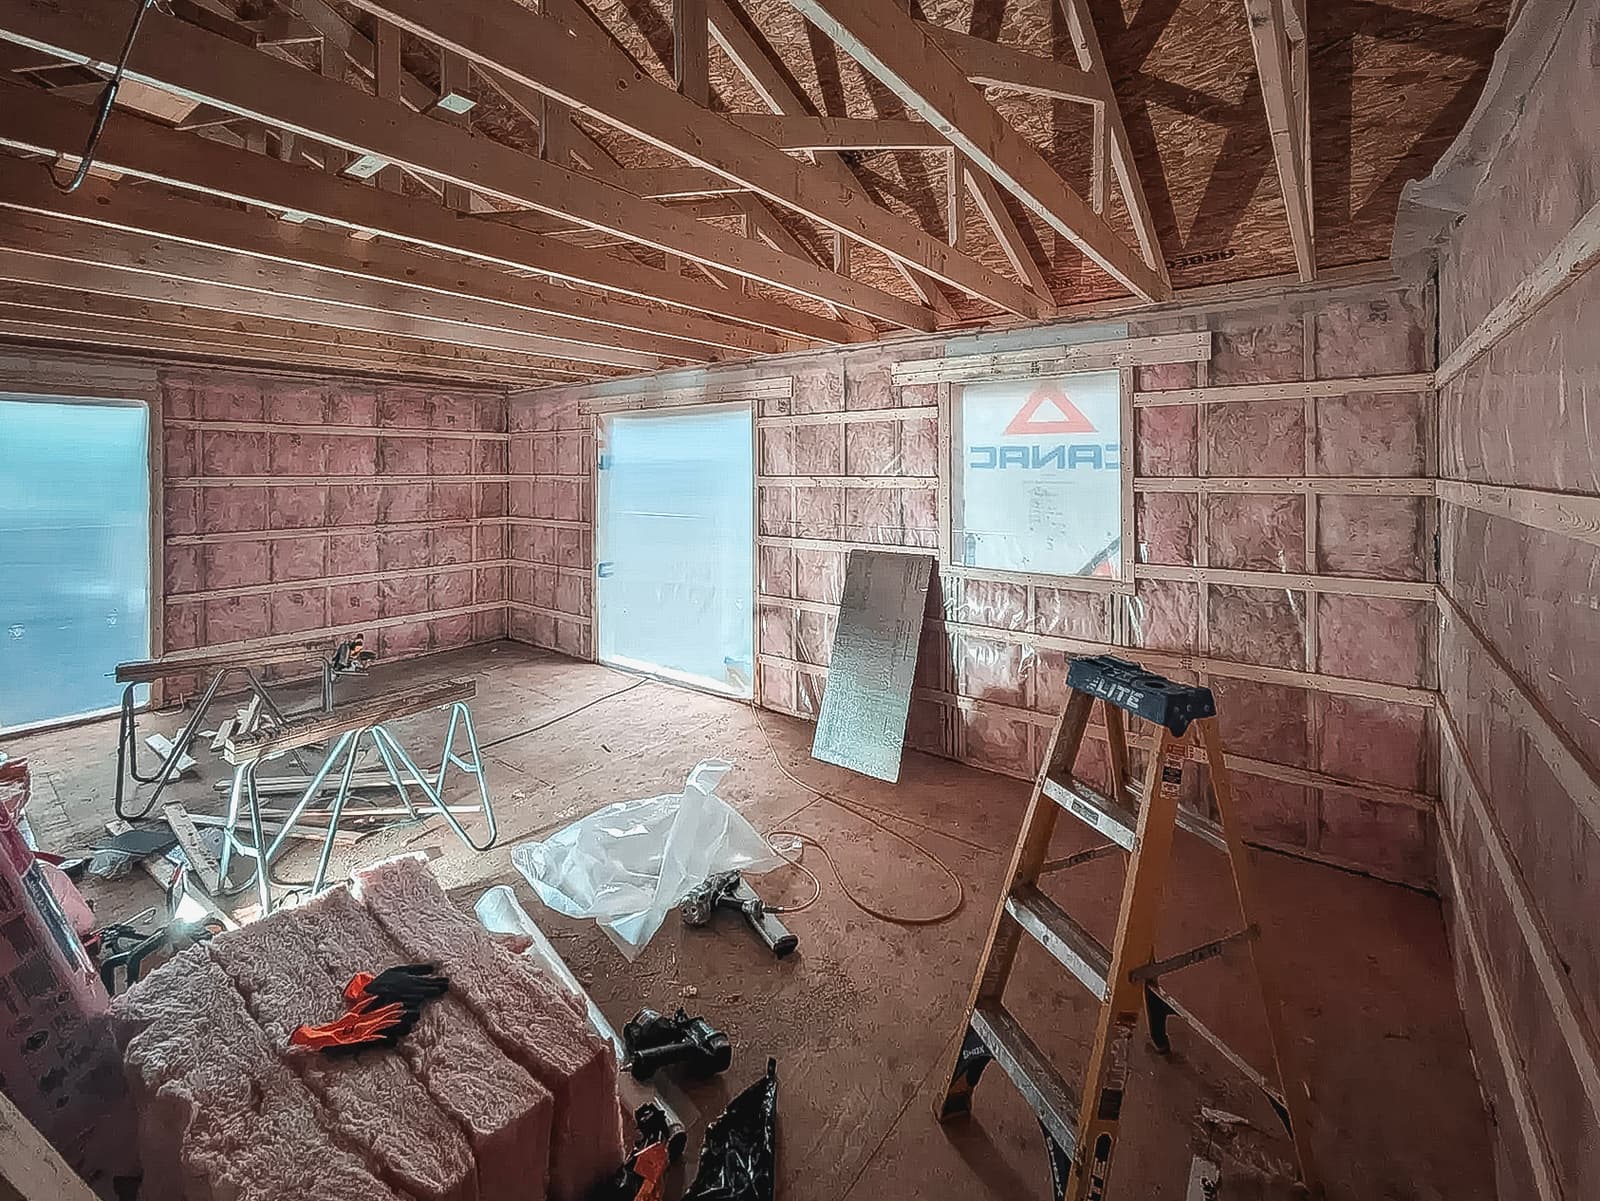
Strip your hardwood floor

source: Flickr, gregoryswan
The first step to stripping your hardwood floors is to apply a paint stripper to remove the old varnish. If your floor has been painted for whatever reason, use a liquid stripper instead. Apply this with a paintbrush instead of pouring the stripper directly onto the floor, as wood is very porous and sensitive to saturation.
An alternative is to use a spray stripper, which will come in an aerosol can, and this method can be applied directly to the surface of the floor. It is important to note that homeowners should only use a gel stripper if looking to remove the varnish as well as the paint, as gel strippers work to remove several layers.
Remove and Clean Off the Varnish
The next step to stripping your hardwood floors is to remove the varnish from the surface of the floor. The varnish will have loosened by way of the paint stripper that was previously applied, and therefore, will be relatively easy to scrape off. You can scrape off the varnish using one of two methods: either by way of a chemical-resistant scrapper blade or using a damp mop.
Make sure that if you choose to remove the stripper using a mop that it isn’t soaked. Regardless of the method you choose, complete this process carefully and vacuum the floor directly afterwards.
Sand the Surface
If you find that the varnish has not disappeared, you may have to sand down your floors. To complete this step, you will need the aid of a belt, disk or drum sander with a coarse sandpaper. Before you begin sanding, make sure to put on protective eyewear in order to shield against small flying debris as well as a large amount of dust that will accumulate.
To start the sanding process, work from the centre of the room, turn the sander on and tilt it upwards. Sand across the room in the same direction as the grain on your hardwood floors. Further, make sure to always keep the sander in motion during the process. Make your way towards the wall, and once you reach it, return the sander to the centre of the room and move on to the next section until the entire floor has been sanded.
Finish the Job

source: Flickr, Garth
Following the sanding process, vacuum the area to rid of any dust that the sander created. Once the floor is clean, sand it again using fine sandpaper, as this will smooth out the floor while providing the finishing touches. Make sure that no varnish remains on the surface of the hardwood floor surface.
If you are still finding patches that haven’t been removed, these can be removed with an electric paint remover, which will heat the varnish to remove it. Following this, scrap the varnish from the floor with the previously mentioned paint scraper.
Get 3 renovation quotes for your hardwood flooring refinishing project
RenoQuotes.com can help you get quotes for your hardwood flooring renovation project. If you submit your project to us, we’ll put you in contact with top-rated contractors. Fill in the form on the homepage (it only takes a few minutes), and you will get estimates from trusted professionals.
Dial 1-844 828-1588 to speak with one of our customer service representatives
Looking for something else?
Related articles
The latest industry news, interviews, technologies, and resources.
Editorial Team
•13 Apr 2026
A study conducted by Reno Quotes reveals that at least one in five contractors recommended by artificial intelligence operates without a valid license in Quebec, a mistake that could prove costly for homeowners, especially as households invest heavily in residential renovations.

Cynthia Pigeon
•17 Apr 2026
In 2026, wall soundproofing in a Canadian condo typically costs between $15 and $25 per square foot, including labour and specialized materials. For materials alone, expect to pay between $1 and $10 per sq. ft. An effective system usually combines mineral wool insulation, resilient channels, and acoustic drywall (around $40 per sheet). Beyond comfort, soundproofing can also increase your property’s resale value by achieving a higher STC (Sound Transmission Class) than the minimum building code requirements.
Editorial Team
•24 Jan 2025
Travertine, southern France’s emblematic stone, exudes a timeless Provençal charm paired with a colour palette that perfectly suits all decorative styles. Each tile, designed by nature, is unique and features stone-specific veining, grooves, and patterns, making it a genuine gem. The stone's singularity, paired with its durability and subtle shading, makes travertine ideal for styling any interior or exterior space.
Cynthia Pigeon
•11 Jun 2026
Discovering asbestos in a property naturally raises many questions, both in terms of health and finances. Whether you own a long-standing single-family home, are in the process of buying a property built before the 1990s, or manage a residential or commercial building in Quebec, accurately assessing asbestos removal costs is a crucial step.

Editorial Team
•21 May 2025
Closets are some of the most fundamental spaces in any home as they allow for the storage of your wardrobe and much more, from footwear to jewelry and other accessories.