Who doesn’t love a cool summer breeze on a sizzling summer day? Being able to open and close your windows freely is one of the perks of having them. But of course, the mechanisms for opening and closing windows break occasionally. Window cranks, also known as casement operators, have a spline that slowly wears down from continued use and over time, and will need to be repaired or replaced.
But how can the novice homeowner go about doing this? Of course, this job is easier than you might think! Luckily, you won’t have to replace the entire window but just the crank itself. If your crank has worn out or the handle is slipping, then read on and we’ll give you some suggestions about how to deal with this problem.
Here's what to do if you're left with a broken crank handle!
Remove and inspect the old crank

source: Flickr
The first step to repairing your broken crank is to remove the old one. Start this job by removing the screw that attaches the base of the handle to the window, and this can be done with a screwdriver. Once the screw is removed, you should pull the handle from the crank stud and inspect the spline beneath the handle, as well as the teeth inside of the handle.
If the teeth are worn out or missing, you will only need to replace the handle rather than replacing the entire crank and these can be found at your local hardware store. However, if you find that the spline is missing or worn out, you will have to replace the entire crank.
Get the new crank ready for installation
Of course, before installing a new window crank, it will be necessary to find one. Your local hardware store will likely have several models on hand, though it is recommended that you find a crank based on the manufacturing company of the original. Some experts recommend taking the broken crank to a replacement hardware specialist, as this will guarantee that you get a match back. Purchasing a replacement crank can sometimes be costly, but it will cost significantly less than replacing your entire window.
Install the replacement handle

source: WikimediaCommons
The replacement process may vary from crank to crank but should be straightforward. Start by disconnecting the crank arm from the guide track on the window. This can be done by opening the window until the crank arm guide bushing is aligned with the notch in the guide track. In some cases, you may require locking pliers to complete this step. Once in place, press down the arm to free the bushing from the track, then push out the window until the bushing is clear out of the track.
Now, using a screwdriver, take out the trim screws and this should allow you to lift the casement cover off the window jamb. Remove all screws that keep the crank mounted, and once screws are removed, lift off the crank. Keep screws that are in good condition, but find replacements for any rusted or bent screws.
If you can’t find any screws, it is likely that the casement cover is nailed or stapled instead. If this is the case, you’ll need to slide a stiff putty knife in between the window jamb and casement cover. Make sure you complete this step carefully, to avoid damaging the wood window frame.
Next, close the window to prepare to install the new crank. This can be completed by lining up the new crank with the old holes. If the holes have been stripped, use toothpicks to fill in the extra spaces, and drive the screws in.
Follow this, you can simply reattach the crank arm as well as the casement cover, securing both with screws. Slide the bushing on the arm back into the window track, then place the handle over the crank stud, inserting the attachment screw and tightening it to secure the handle.
Get 3 renovation quotes for your window crank handle project
RenoQuotes.com can help you get quotes for. By submitting your window renovation project to us, we’ll put you in contact with top-rated contractors. Fill in the form on the homepage (it only takes a few minutes), and you will get estimates from trusted professionals
Dial 1-844 828-1588 to speak with one of our customer service representatives
Looking for something else?
Related articles
The latest industry news, interviews, technologies, and resources.
Léa Plourde-Archer
•19 Feb 2026
Quick Summary: In 2026, the price for foundation waterproofing in Canada generally ranges between $100 and $250 per linear foot. For a standard single-family home, expect a total investment varying from $10,000 to $25,000, including excavation and the installation of a French drain. These costs fluctuate based on foundation depth, site accessibility, and the type of protective membrane selected.
Léa Plourde-Archer
•08 Nov 2023
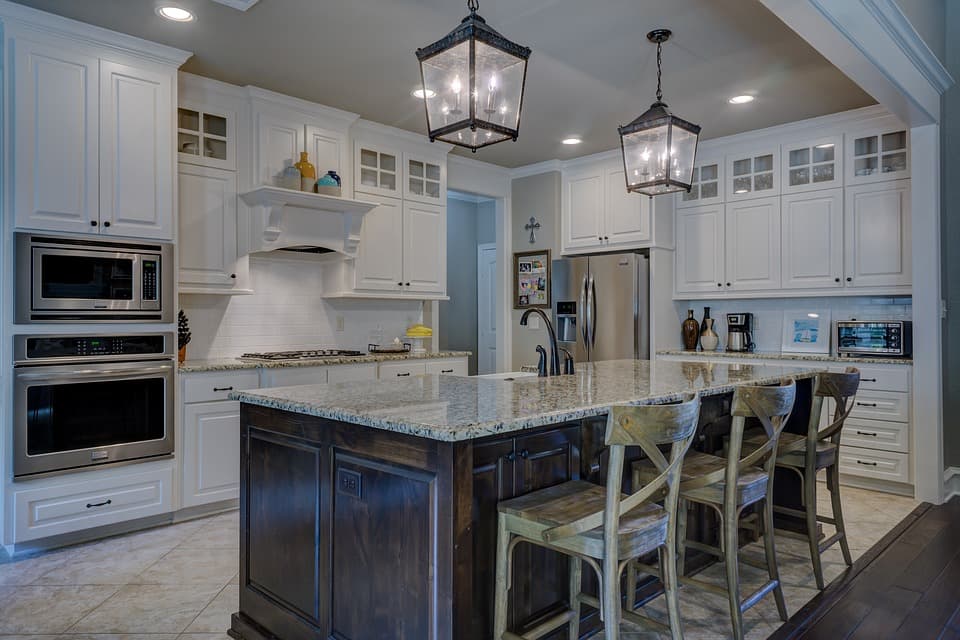
Chandeliers, ceiling lamps, recessed or semi-recessed luminaires, hanging or rail lamps, etc. There is no shortage of options to illuminate the different rooms of a house! In addition to being fun decorative objects to choose from, the selected type of brightness will bring comfort and the desired atmosphere to your home.
Cynthia Pigeon
•14 May 2026
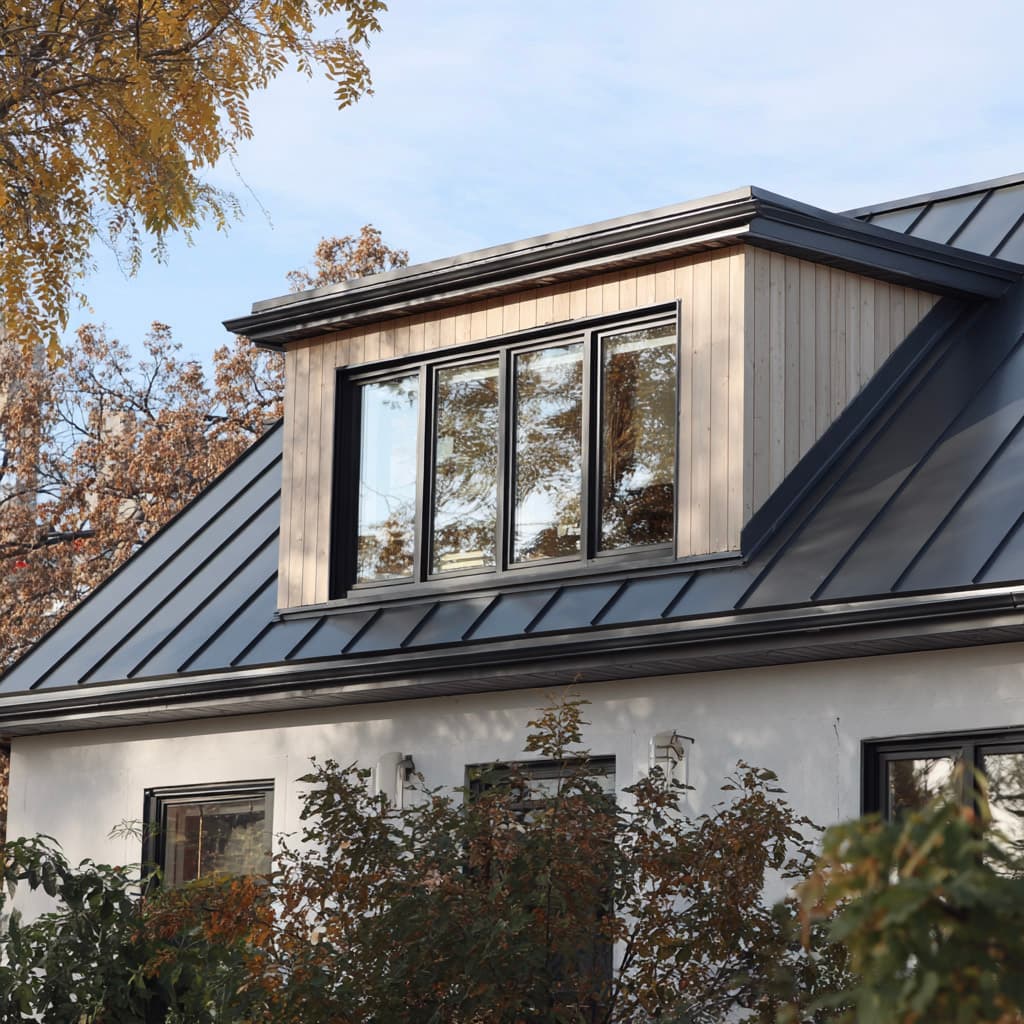
In 2026, the cost of a metal roof in Canada generally ranges from $13 to $30 per square foot, including installation, depending on the type of metal, profile, roof slope, project complexity, and site access. For an average single-family home, homeowners can expect to pay around $13 to $25/sq. ft. for galvanized steel or Galvalume, and up to $30/sq. ft. for aluminum. Although the initial investment is higher than that of asphalt shingles, a metal roof can become a very worthwhile long-term option thanks to its potential lifespan of more than 50 years and its strong resistance to Canada's tough weather conditions, especially if you plan to keep the property for many years.

Cynthia Pigeon
•18 Jul 2026
For buyers of older homes, property managers, or homeowners planning major renovations in Canada, the word “asbestos” often raises concerns. Asbestos was widely used in various Canadian building materials, particularly before 1990, because of its insulating, fire-resistant, and durable properties.
Cynthia Pigeon
•10 Sep 2026
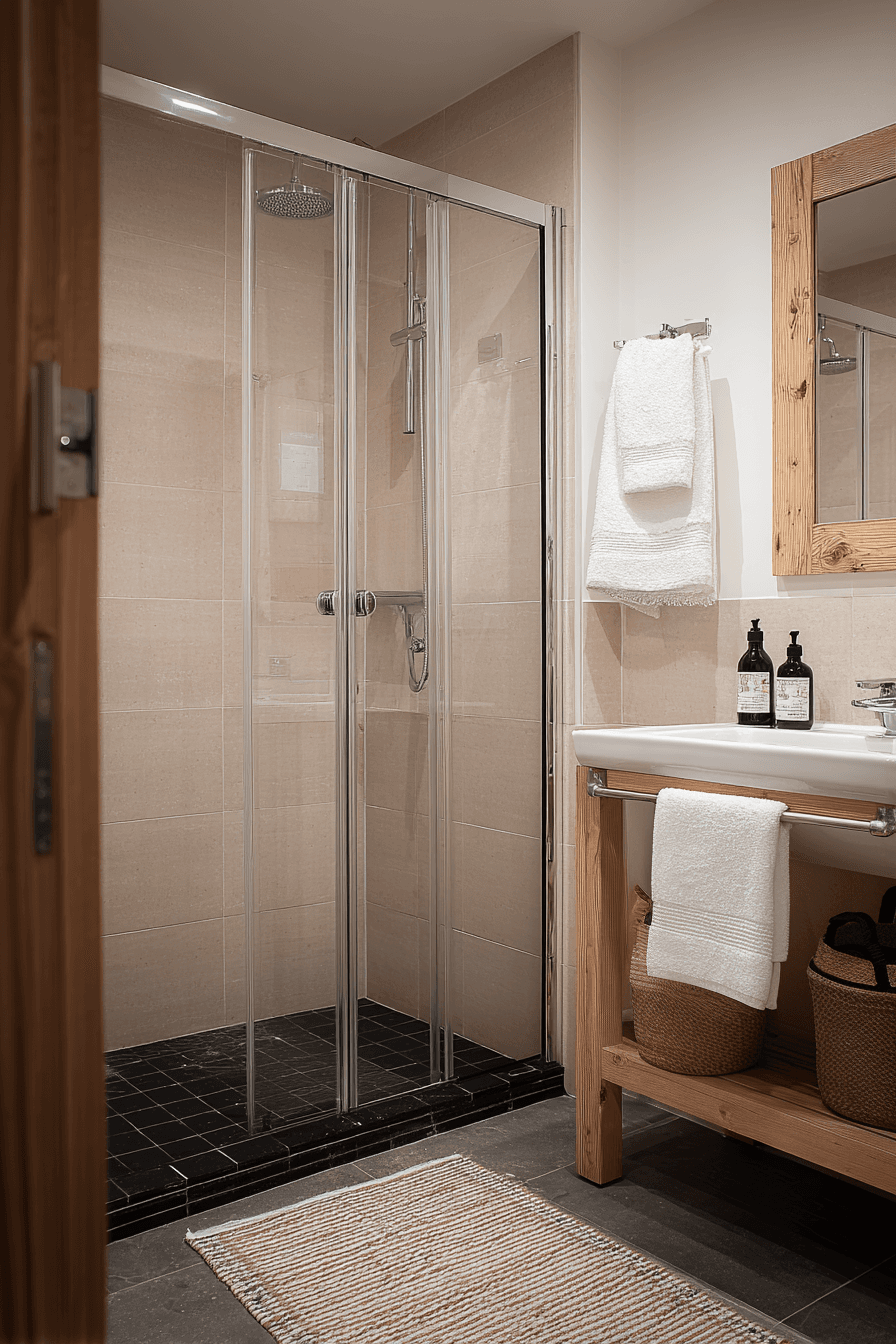
In Canada, in 2026, the cost of renovating a walk-in shower generally ranges from $5,000 to $9,000 for a standard project, including materials and labour. For a high-end installation with premium materials, a linear drain, custom glass panels or built-in niches, costs can exceed $12,000. The final price depends mainly on the complexity of the waterproofing system, the choice of tile, the preparation of the subfloor and any required plumbing changes. For this type of project, it is recommended to hire a qualified contractor and, where applicable, licensed plumbing or electrical professionals to ensure the work complies with local building codes.