Ash Hardwood Flooring: Installation & Maintenance Tips
By Cynthia Pigeon
Updated on December 5, 2025
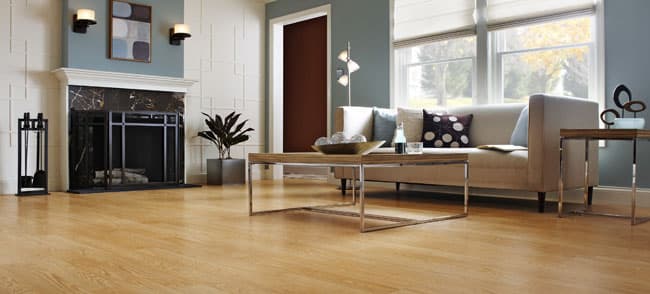
You are renovating your home and now comes the time to change your floors. After careful consideration, you choose a rather classic, hardwood that adds light and character to your main living area: ash. This type of wood is an ideal choice as it constitutes a wise investment given it is cost-effective and durable.
Get Your Project Started Today
Submit your details and receive three free quotes from trusted contractors.
With its coarse grain, ash offers both strength and flexibility; ideal for the busy and bustling family or pet lovers. Its features are also beneficial for those who do not have a lot of time to devote to an elaborate maintenance routine or who wish to install this type of flooring in a commercial space.
Installing Ash Hardwood Flooring
To determine the amount of wood needed, measure the area you wish to cover by multiplying the length by the width, round out the number, and add a little extra for good measure. This way, you will not end up faced with a less-than-beautiful result or uneven floorboards.
Most companies, when you order or purchase your set of floorboards, will throw in labour. To save time or if you do not feel comfortable doing it yourself, note that the staff is experienced and qualified. However, if you do decide to take a different route, and tackle the project yourself, remember to adhere to the manufacturer's installation guidelines.
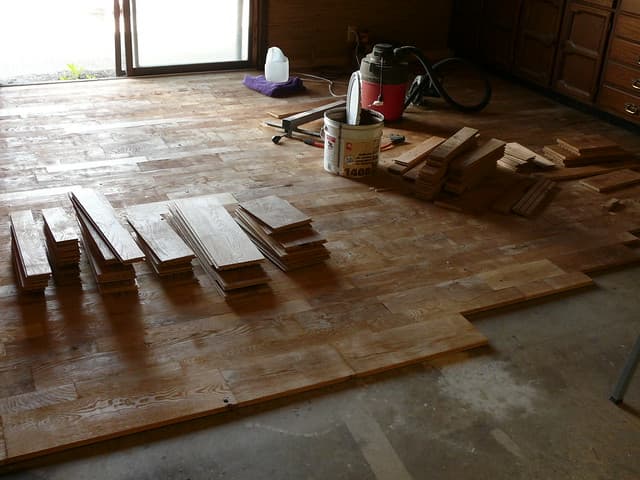
Photo: Flickr
Few Useful Tips
Before installing your hardwood floors, make sure that the room temperature is around 20 degrees and that the humidity level is between 40% and 50%. Then, leave the floorboards in the room where they will be installed for 48 hours to allow the ash hardwood to settle and absorb the room’s humidity. In doing so, the boards will expand to their normal size, and avoid swelling or cracking within a few days of their installation.
Also, you can purchase floorboards with or without an existing finishing coat. For the latter, following their installation, they will need to be sanded, sealed, and stained.
A hardwood floor, as is the case with ash, is generally installed on ¾-inch thick plywood planks covered with a vapour barrier.
First and foremost, have the right tools handy:
Measuring tape;
Crowbar;
Rubber mallet;
Hammer;
Steel square;
Wood flooring stapler;
Mitre saw;
Drill;
Nail setters;
Flooring finishing nails;
Repair markers;
Chalkline and pencil;
Security goggles;
Knee pads;
Broom or vacuum.
Test out your tools on a scrap piece of wood beforehand to familiarize yourself with their grip, weight, and required pressure.
Also, make sure that your drill bits are smaller than your finishing nails.
Choose the straightest, most flawless wood slats for your first two rows. Normally, boards fit together on the tongue side and into the groove. Start by laying your rows using different board lengths to ensure that the ends of your slats do not line up from one row to the next; the goal is to stagger the end joints.
To secure your boards in place, pre-drill holes where your finishing nails will fit (on the top of the board), and pre-drill your flooring nails 45 degrees along the top of the tongue side floorboards. Then, hammer the nails in, and conceal the hole with a touch-up marker. Note that it is best to use a pneumatic flooring nailer to avoid splitting the wood or setting the nails at the wrong angle. Follow the manufacturer's instructions for nail and wall spacing.
When completed, lay your baseboards, quarter rounds, and door jambs by nailing them into the wall, not the floor.
For more detailed instructions, check out our article: Cherry Hardwood Flooring: Installation and Maintenance Tips.
Ash Wood Floors: Care & Maintenance
No doubt, ash hardwood flooring will not last forever. Years of wear and tear, sun exposure, and repeated shocks due to daily life will wreak havoc on them. However, by following a strict maintenance routine, you may be able to prolong durability, especially since this tree species are already endangered due to the emerald ash borer (French only).
Note: Oak and ash hardwood floors are among the most common types of flooring and, given their similar colours, ranging from creamy white to dark brown, they are rather hard to differentiate. Also, over time, both species tend to turn yellow or orange. That being said, you can easily refinish every other room in your home by choosing the option that appeals to you most, even if one is made of oak and the other of ash.
The precautionary measures to take will depend on the type of floor finish you have. Varnish offers better protection and you can polish your floors without damaging them too much over a period of 10 to 15 years. However, when your floors start to show signs of wear and tear, call in a team of professionals to completely sand and refinish your floors.
As for oiled wood floors, this type of flooring requires regular maintenance and is much more susceptible to wear. On the flip side, you can easily apply touch-ups once signs of wear and tear begin to show. And, theoretically, well-oiled wood floors will not need imminent sanding. Also, some prefer the more natural look that oil on wood offers.
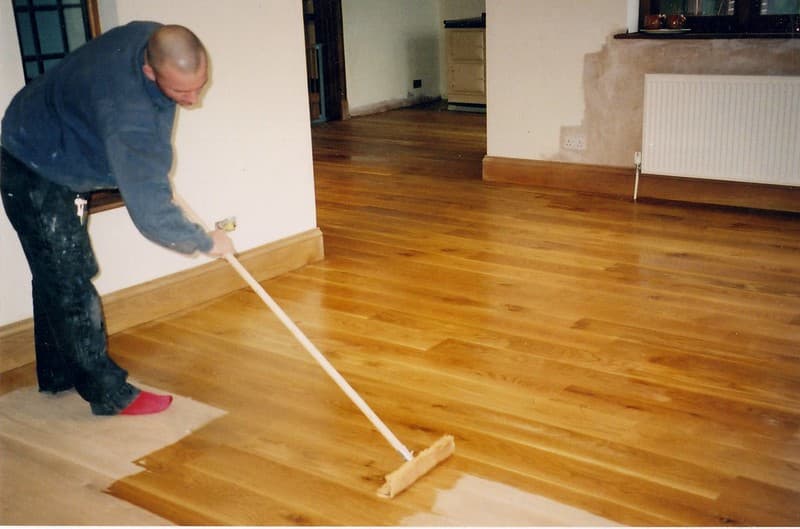
Photo: Pixabay
For a quick clean, use a microfibre cloth or a regular cloth on your floors as a broom might just spread the dirt and dust around, and a vacuum can damage your ash hardwood floors. As a matter of fact, avoid using any scrubby tools/materials like steel wool.
A good cleaning product is designed specifically for hardwood floors, is non-abrasive, and does not require rinsing. It is quick-drying and leaves no residue. Avoid pouring products directly on hardwood floors and do not use large quantities of water, since humidity and water are wood's worst enemies.
Avoid: Vinegar, citrus, oil-based soaps, or wax cleaning products, these are best used on vinyl or ceramic flooring.
Delay Wear and Tear
Make sure to wipe up any liquid on your floors right away. Have doormats or rugs in your entryway to avoid any outside debris from spreading around and scratching your floorboards. Stick felt pads under your chairs and carpets under any rolling furniture.
And, of course, do not hesitate to seek professional advice, as for every type and species of wood, there is an effective maintenance method to keep them looking shiny for years.
If you want to learn more about other wood species, check out these articles:
Looking for something else?
Related articles
The latest industry news, interviews, technologies, and resources.
Editorial Team
•18 Apr 2024
Have you noticed the presence of traces of humidity in your crawl space? You're right to wince because a buildup of moisture is never good news.

Amanda Harvey
•08 Nov 2023
Regardless if you’re a renovation novice or an expert, a contractor even, the world of building permit requests is tricky to navigate. Of course, if you’ve taken on a renovation project or two, then you’re most likely aware of everything that's of importance, like applying for permits in the first place. In 1976, Ontario established the Building Code Act, to regulate and increase renovation quality control while offering homeowners protection. Therefore, if you’re renovating a structure in the City of Ottawa, you have to determine whether or not a work permit is required.
Léa Plourde-Archer
•25 Jul 2025
One of the main advantages of owning a home with a backyard is that you can create an exterior environment that fulfills your needs. The front yard greets us when we come home and is the last thing we see when we leave, whereas the backyard is a space meant for relaxing and having fun.

Editorial Team
•08 Nov 2023
As August comes to an end, it’s time for us once again to get busy and dig through the internet in search of the best articles on interior design, decor and renovation written this past month!

Cynthia Pigeon
•18 Jun 2026
Planning renovation or construction work in Quebec means making strategic decisions long before the first hammer is swung. Given the realities of our Quebec climate—freezing winters, major spring freeze-thaw cycles, and high summer humidity—the strength, compliance, and durability of a building depend on informed decisions.