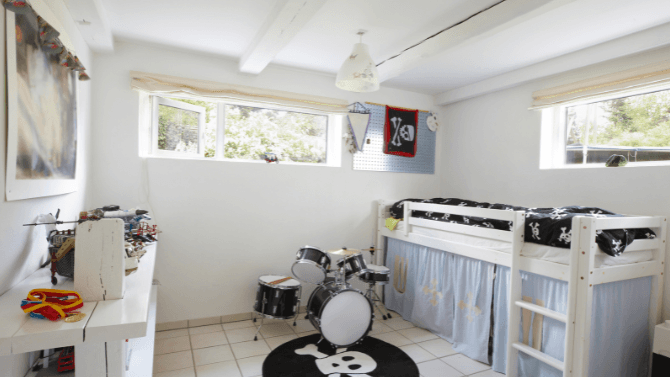
Basement windows are often small and so they can easily be neglected. However, this doesn’t stop them from being the frontline barrier to keeping your home warm and protected against the outdoor conditions.
This makes it very important to make sure your windows are in perfect shape and should an issue become apparent, be quickly replaced. We have prepared this simple guide to show you which steps are necessary to take to install a new window in your basement.
Most basement windows come with two types of frames; wood and steel. While wood offers the advantages of beautiful architectural detail, solid thermal performance, and a wide variety of colour choices, this material comes with significant exterior maintenance and at a high cost. Steel, on the other hand, offers great strength and overall durability but at the cost of feeling cold and giving a somewhat commercial look to your windows. Remember, wood frames are secured in the concrete while steel frames use a buck embedded in the concrete (meaning it will require more force to remove).
The replacement of your basement windows
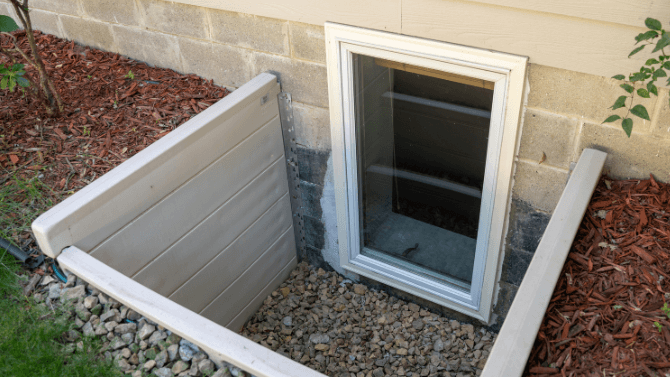
Source; canva
What to prepare
The first major step with any job is making sure you have the proper safety equipment and tools. For this job, you will need the safety basics of gloves, goggles and a face mask. For tools, you’ll need a hammer, a reciprocating saw, screws and screwdriver, some shims, caulking, some urethane sealing foam and some exterior-grade primer.
The tools you will need to replace a basement window
Of course, you can’t move forward without taking the proper measurements of your window. Keep in mind that measuring the frame from the inside will give you the most accurate numbers. If you’re dealing with a metal frame, remember to account for the buck when measuring. Depending on its state you may need to remove and replace the buck, usually when heavily rusted. Otherwise, if it’s in good shape it may be easier to leave it in place. Lastly, for the most accurate measurements, we always suggest checking both width and height in at least two places, using the smallest dimensions.
Steps to replace the basement window
Source: Canva
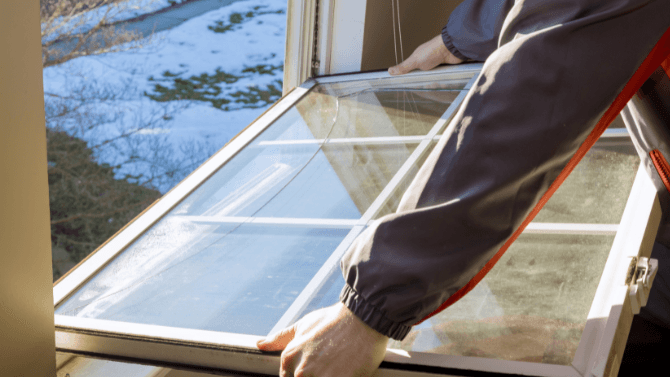
Now you can begin prepping the work area and this starts by removing the sash from the basement window. Once the sash has been removed and discarded, it’s time to cut through the window frame. At this point, you should have your reciprocating saw handy to slice deep into a wood frame. You can use the saw on metal frames but use extreme caution as it is likely that sparks will fly. At this point, the frame should be loose enough to remove it completely from the opening in the wall. To make sure your new window will fit flush into the opening, you may need to use a hammer to gently chip away excess mortar from the sides that could affect the snug fit.
Now that all the preparation has been taken care of, it’s time to install the new window. First, slide it into the wall opening to ensure that it is the right fit. Although you may need to push the window into place, try not to force it into place with too much strength or you could risk breaking the glass pane. Now that it is in place, you need to use the shims (thin pieces of wood wedged between the frame and the opening) that will help keep the window centred within the opening.
By this point, the window is ready to be secured in place by screwing through the frame into the sill. Now all that remains is to securely seal the window along its seams. Using the caulk, run it along the sides and top of the frame to fill in the gaps and create a solid barrier. Now, use the urethane foam, sprayed under the sill to seal the bottom of the window. Make sure to do this both inside and outside.
If you are replacing a wood window, the final step will be to apply a coat of exterior grade primer to any exposed wood. Once the primer dries, the wood will be better protected against rain and should you wish to paint, it will be ready to go!
Remember that if you’ve replaced the window once, then you should not have to think about it for many years to come. With that said, this is a preliminary guide to basic window replacement for the basement. Your job may require more attention because of the masonry and other factors, so we thoroughly suggest consulting an expert in order to have your windows seamlessly installed.
Are you currently organizing a basement renovation project? We've prepared a highly practical checklist to help you manage the different steps involved in this project. Click here to check it out and be sure to keep it handy
Author: David Ben-Zaken
Get 3 quotes for replacing your windows and doors
RenoQuotes.com can help you get quotes for a window project. When you submit your project, we’ll put you in contact with top-rated contractors. Fill in the form on the homepage (it only takes a few minutes) and get estimates from trusted professionals.
Dial 1-844 828-1588 to speak with one of our customer service representatives.
Looking for something else?
Related articles
The latest industry news, interviews, technologies, and resources.

Cynthia Pigeon
•14 Apr 2026
To prevent water infiltration during the snowmelt season in Canada, three key actions are essential: test your sump pump, clear snow away from window wells, and ensure your downspout extensions discharge water at least 1.5 metres (5 feet) away from your foundation. If ice builds up along the edge of your roof, contact a professional to break up the ice dam before water backs up under the shingles.
Editorial Team
•08 Nov 2023
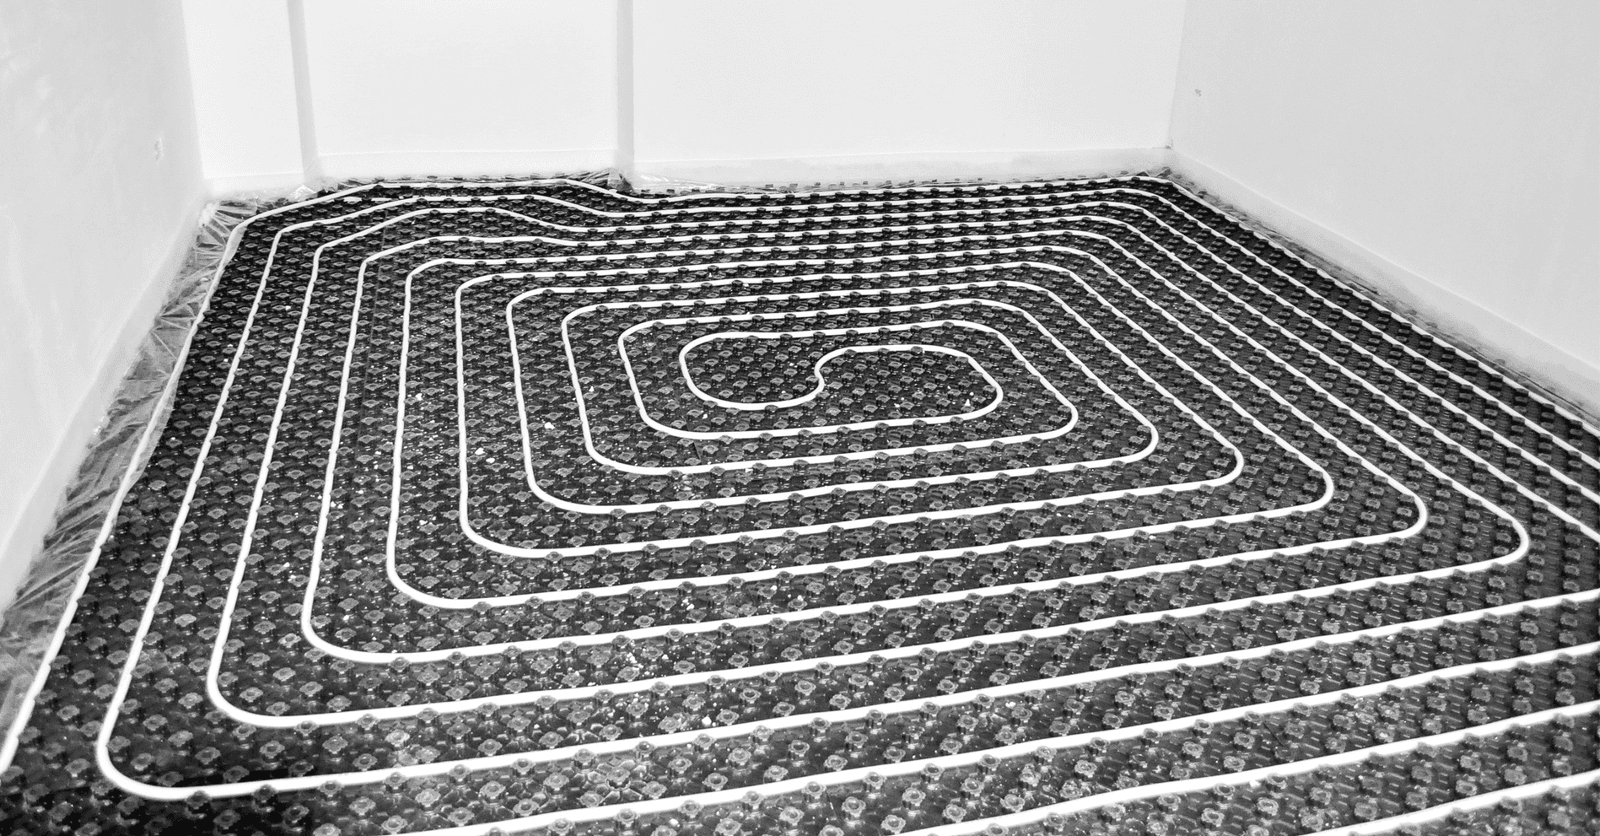
Even with a cozy heating temperature, maintaining warm feet during chilly winter days can be challenging. For those of us who shiver as soon as winter veers its ugly nose, and long for warm summer days, there’s a way to spare the discomfort of frozen toes: getting a floor heating system installed.

Équipe éditoriale
•28 Apr 2026
For any homeowner, a contaminated property is a literal nightmare. What should you do if your home is infested with asbestos, radon, or mould? Such problems, which affect hundreds of thousands of homes across Canada, can severely hinder a home’s structural integrity, not to mention the health of its dwellers.

Cynthia Pigeon
•30 Apr 2026
Across Canada, the cost of an asbestos test for a residential property typically ranges between $200 and $950. A simple DIY sampling kit costs around $200, while a full professional inspection with a certified report generally falls between $500 and $950. Testing materials before any demolition or renovation—especially in homes built or heavily renovated between 1930 and 1990—is a critical step to protect occupants’ health and ensure compliance with occupational health and safety regulations.
Editorial Team
•02 Apr 2026
Noisy pipes are likely the cause of a significant problem, often leading one to hire a plumber.