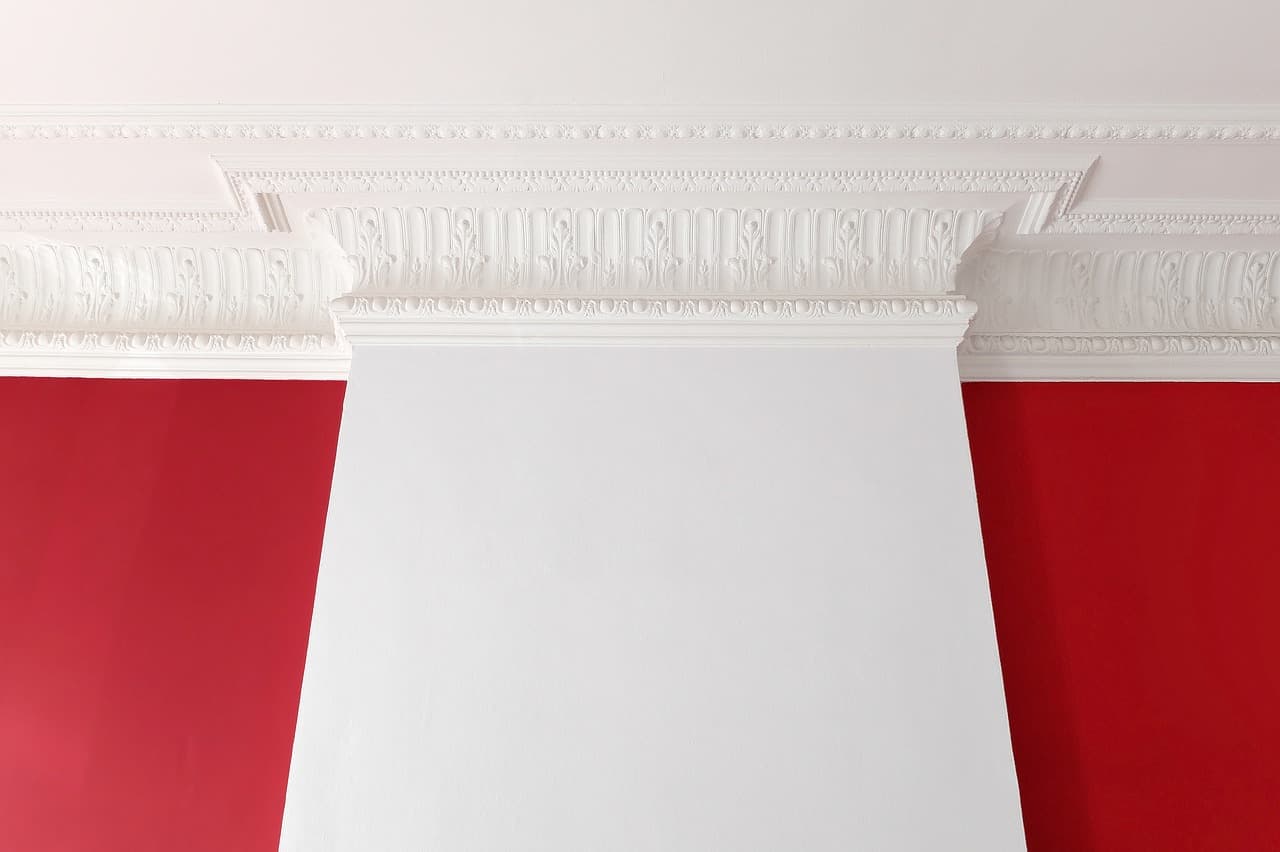
When it comes down to finer details of home décor, it’s all about the unique and sophisticated. In the modern, streamlined home, these careful particulars are becoming less and less common. Timeless elements are forgotten, and included in this is the classic crown moulding.
Crown moulding may not be a common feature in the rooms of newer houses, but if it’s something you’re interested in adding, this can be done as a weekend renovation project. This isn’t the easiest of jobs and does require some serious attention to detail. However, with a bit of patience, it can be done.
Guide: how to install crown moulding
1- Getting started

Before heading out to your local hardware store to gather materials for this project, you’ll need to take careful measurements of the room and this should include jotting down the length of each wall. Make sure that when you do head out to gather materials, you buy those which are long enough to span the entire length of the wall.
Once you’ve carefully measured the space, determine what type of crown moulding you’d like to use for the room. You’ll likely be choosing between wood moulding or moulding made of MDF which is a combination of wood and resin. The wood moulding will be much more expensive than MDF.
However, MDF moulding should not be used in the kitchen or bathroom, as it can warp as a result of moisture buildup and humidity. Make sure to inspect the moulding that you do purchase for any splits or milling marks, as these will need to be sanded down before installation.
2- Correctly cut the crown moulding
Cutting your crown moulding correctly will require a saw that allows you to tilt the blade as well as rotate it. In most cases, you will need a mitre angle or a power mitre saw. Instead of cutting the moulding as it lays flat, cut it in such a way that it mimics the angle at which it will be nailed to the wall. For this method to work, the moulding will need to be placed upside down.
There will be two lengths of moulding along the wall joints, and these will be joined by something referred to as a scarf joint. A scarf joint will need to be angled correctly for the two pieces of moulding to fit together perfectly.
Using a saw, set it to a 45-degree mitre cut. If you’re working counter-clockwise around the room, adjust the saw to the left. Of course, if working clockwise, adjust it to the right. Hold the moulding very securely and cut as slowly and delicately as possible. Following this, cut the adjoining length of the moulding.
3- Mark, position and install moulding

Start by locating and marking the position of studs or joists in the wall, as this will be the place where you drive the nails through the moulding into the wall. Before installing anything in place, test the mitre angles to make sure that they fit neatly together without a gap. Remember, wall corners are rarely perfectly square, so this step might require a bit of finesse. If you find a gap between pieces, they will need to be recut.
Now, depending on the direction that you’re working, you’ll start from the corner of the room and install the piece with square cuts at both ends. With this piece in place, you can begin to add the pieces to the right or left. An important note is to make sure you’re using constructive adhesive on all materials, even when securing them in place with nails.
Use only a thin layer of adhesive so that the excess doesn’t run out the sides and damage the moulding. Install the scarf joints in the same fashion and the adjoining piece of the crown as you move forward. Wipe away any excess glue that’s present on the scarf joints. Once the glue has fully dried, use sandpaper to sand the joint smooth.
For inside corners, you’ll need to create a square piece that butts the corner as well as a corresponding piece that is cut to carefully conform to the first piece. These can be cut by inserting a piece of the moulding upside down with the blade set to a mitre cut. Once this has been completed, use a coping saw to cut away the bevel in a technique known as “back beveling.” Test fit the cope cut against the previously trimmed square cut to make sure it fits. If it fits, nail it into place.
In places where the moulding doesn’t butt into anything, you will need to create a piece called a return. This will involve cutting a 45-degree mitre cut on the crown, nailing this up and cutting a piece exactly alike but in the opposite direction. Following this, adjust your saw to zero degrees. Laying the piece flat and face-down, cut directly through the crown starting at the point of the mitre.
4- Paint moulding
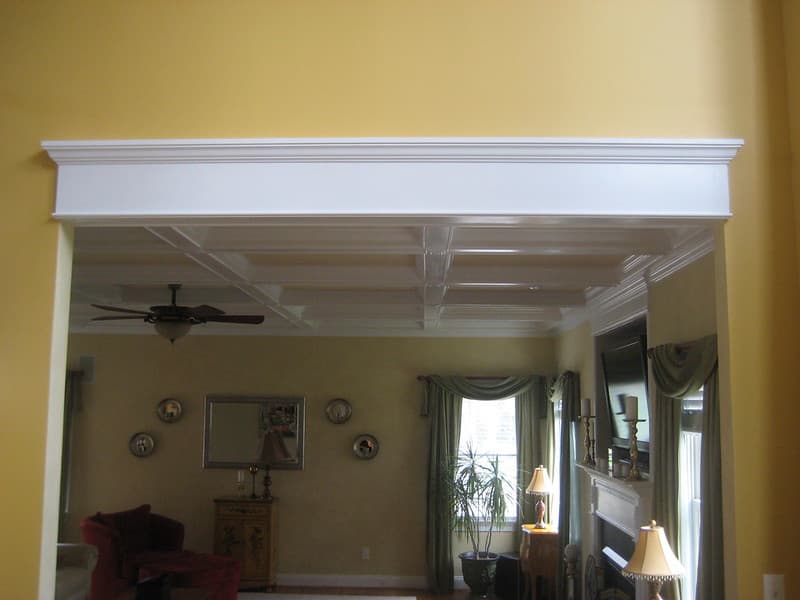
In order to obtain a result that meets your expectations, it is important to choose your tools and respect certain basics:
For the primer layer, prefer a brush with an angle of 2 to 3 inches depending on the width of your mouldings. To apply the colour, a brush with an angle of 1 to 2 inches is sufficient.
A high-end paint will last longer and a semi-gloss finish is generally well suited for ceiling mouldings. Choose the colour according to the expected look. If you want your mouldings to catch your eye, contrast them. White and black are the most popular colours. Pay attention to the type of white chosen: if the shade of your wall is cold, opt for a cold white and vice versa for warm colours.
Neglecting this aspect could give you unpleasant surprises by bringing out your mouldings more yellowish or blue than they are in reality and thus spoil your entire project. If, on the other hand, you want mouldings that blend into the décor, simply paint them with the same product as your walls.
Always clean the surfaces you want to paint first. Use a brush or sweeper to make sure there is no dirt left in the relief of the mouldings, then pass a damp cloth.
Sanding moulding will allow the paint to adhere well. For new mouldings, as is the case in this article, a 120-grain paper will be ideal.
Put down masking tape to protect your wall if it does not need to be repainted. Apply the primer and respect the drying time indicated on the package. To completely hide the grain of the wood, you may need to apply a second layer. Gently sand everything.
The time has come to put the colour. Make small horizontal movements from left to right before ending with larger ones to smooth the painting. Let it dry between layers. Remove the masking tape before the paint dries completely so that it does not flake or follow the tape.
Steps | Tasks |
Measure |
|
Tools |
|
Cut |
|
Install |
|
Paint |
|
Get 3 renovation quotes for your crown moulding project
RenoQuotes.com can help you get quotes for your crown moulding renovation project. If you submit your project to us, we’ll put you in contact with top-rated contractors. Fill in the form on the homepage (it only takes a few minutes), and you will get estimates from trusted professionals.
Dial 1-844 828-1588 to speak with one of our customer service representatives.
Looking for something else?
Related articles
The latest industry news, interviews, technologies, and resources.


Editorial Team
•10 Feb 2026
Renovations promise a fresh start, yet the dust and debris they leave behind can make a finished space feel anything but livable. Proper post renovation cleaning removes the hidden grit, the fine particles and the lingering mess so your home finally feels complete and ready to enjoy without another round of hard work.

Équipe éditoriale
•28 Apr 2026
For any homeowner, a contaminated property is a literal nightmare. What should you do if your home is infested with asbestos, radon, or mould? Such problems, which affect hundreds of thousands of homes across Canada, can severely hinder a home’s structural integrity, not to mention the health of its dwellers.

Editorial Team
•08 Jan 2025
Modern home interiors and exteriors are at the forefront of the ever-evolving architectural design landscape. Today, siding is one aspect of your property that caters to its aesthetics. Mixing textures and styles, using eco-friendly siding materials, or finding creative ways to balance style and functionality redefine the crux of curb appeal.
Editorial Team
•28 May 2025
Transforming your deck or patio into a solarium means benefiting from the surrounding landscape without dealing with weather-related downsides. Whether the wind is blowing, rain is falling, or storms are veering their ugly heads, why deprive yourself of a beautiful view? To reap the benefits of your solarium at will, you first have to choose wisely regarding the different options made available to you.