It has become common to preserve and experiment with concrete surfaces both inside and outside of the home. Modern homeowners are exploring the possibilities of painting concrete, offering an alternative to its more commonly known drab shades of grey.
Not only does painting concrete take this material to a whole new level, but the task itself is also easy and affordable.
Most homeowners will be able to complete this job with a few tools, materials and the right steps to follow. To successfully paint concrete or other masoned surfaces, the area must be properly prepped and ready for the paint to adhere correctly. Read on to find out the right way to prep, paint and cure this raw surface!
Painting a Concrete Surface
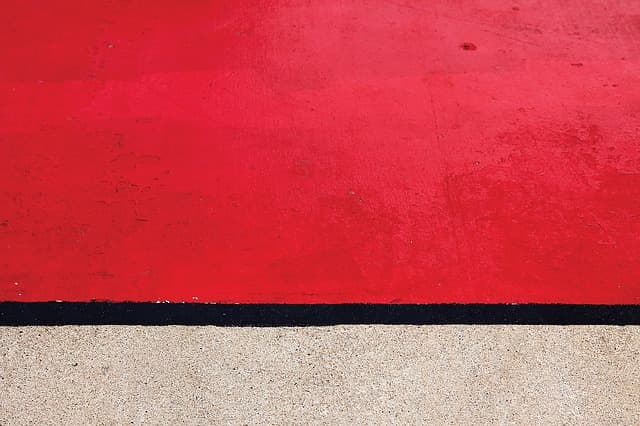
Some initial considerations
Source: Pixabay
Before we get right into it, it’s important to discuss some initial steps as well as the tools and materials required for this job. Of course, the very first thing you’ll need to do is to choose your paint. Since painting concrete has grown in popularity, so has the market for it. There are plenty of options to choose from, including different types depending on the space where you’ll be using it.
There is specific paint for basement concrete floors, and even further, paint depending on what you’re using your basement for: as a workspace or a living area. There’s also concrete garage floor paint, interior concrete paint, and exterior concrete paint. Narrow down which would be the best choice for you by doing a bit of research or talking to your local painting expert.
Now, what tools and materials do you need for this job? Well, they’re as follows:
wire brush;
broom;
vacuum (with brush attachment);
paint scraper;
trisodium phosphate;
paintbrush;
paint roller (high quality);
paint tray;
putty knife;
concrete crack sealer;
paint for concrete;
painter's tape.
Once you’ve selected the right paint for your home, and collected this list of necessary items, you are free to move on to the initial preparation for the job.
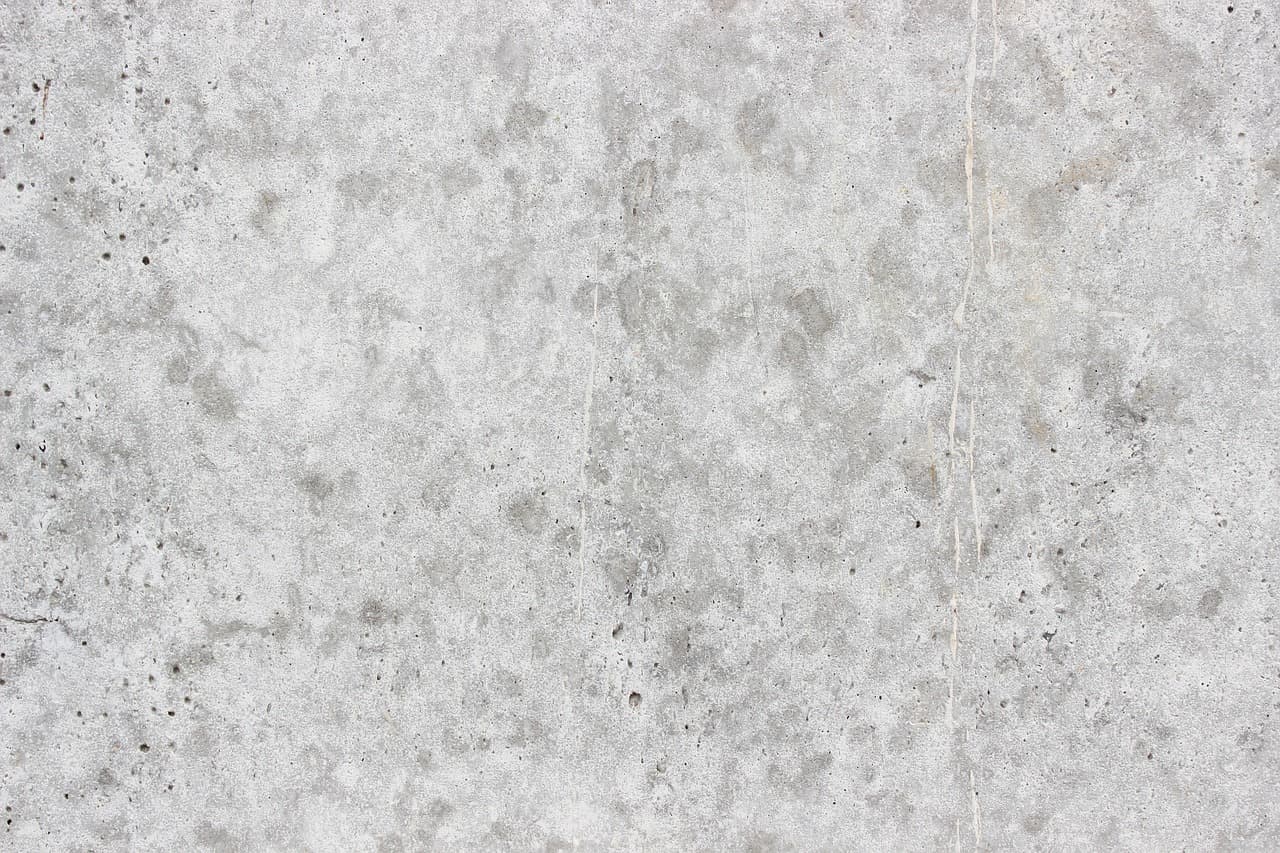
1- Prepare the concrete

Source: Pixabay, JoelHuegli
The preparation steps leading up to painting are very important, as proper preparation of the surface will help the paint to correctly adhere. First, sweep away any excess dirt or debris that's collected on the concrete surface. If you're working outdoors, debris may include leaves, dust, mud and so on. Make sure all of this has been collected and removed.
Next, remove any existing gunk, grime or caked-on dirt that couldn’t be brushed away, making sure to thoroughly scrub away anything stuck to the concrete. At this stage of the process, don't worry too much about stains that appear on the concrete. Cut away any vines or foliage that's collected around the concrete. For interior surfaces, you won’t have as much to clean away, but it's equally important to get the surface as clean and bare as possible for the paint to go on smoothly.
2- Clean the concrete
Now that the area has been swept and the initial cleaning preparation steps are completed, it's time to thoroughly clean the concrete of any dense areas of oil or grease. If you're working on an indoor concrete surface, you may be able to skip this step. Of course, pay special attention if you're working on the floor of a garage, kitchen, or basement floor.
To remove dense grease buildup, use a tri-sodium phosphate solution, which can be found at hardware or home improvement stores. Mix with water following the instruction on the package. Then, use the solution to wash away stains. Following this, be certain to rinse off the cleaner when you’ve finished the job, as leftover TSP will compromise the paint. Lastly, allow the surface to dry completely before moving on to the next step.
3- Patch and seal the surface
If you find any dents, cracks or uneven areas, you’ll want to deal with this before painting. Concrete should be as smooth as possible, as any cracks or breaks in the surface will cause moisture to find its way underneath the paint, leading to the paint flaking and peeling later. Use a concrete patching solution, following the manufacturer's instructions to know how long it should be left to dry. Make sure it's completely dry before moving on.
Next, it's important to seal off the concrete surface. This step is crucial if you're working indoors. Concrete is a very porous material, meaning that trapped moisture could easily ruin the paint. A concrete sealant can get expensive, but the best way to guarantee the longevity of the job and the surface itself is to bite the bullet and purchase it. We strongly recommend not overlooking this for indoor surfaces.
Follow the instructions for proper preparation and application. This step doesn't necessarily need to be completed on outdoor concrete, and we'll leave this up to your discretion.
4- Paint the concrete

Source: Pexels, Tookapic
If you're painting an outdoor surface, the first thing to do is check the weather forecast. Make sure that you have at least 2 to 3 days of pleasant weather, avoiding rain, heavy winds and other obvious hazardous weather conditions. Each coat of paint will need to dry overnight, and the entire job will need roughly 24 hours to completely dry.
Do a bit of research before you choose the day on which you'll paint, and plan ample time for the process. If you're painting indoors, the weather shouldn't be too much of a factor, though it is recommended you keep windows and doors open during this project if possible. Once you’ve decided on dates, you can begin painting!
First, you’ll want to prime the surface, as this will help the paint to stick evenly and correctly, ensuring a strong adhesion. Again, the instructions and dry times will depend on the brand chosen. If you're covering up an old colour or working outside, it's best to apply 2 coats of primer. Let the first coat dry before applying the second one.
Now you can move on to painting. It's important that you purchase the correct paint for painting concrete. Most homeowners choose masonry paint, which is made to adapt to the expansion and contraction of concrete during changing weather. Masonry paint is sometimes called elastomeric paint or elastomeric wall coating. This paint is going to appear much thicker than regular paint, so be sure to use a high-capacity roller or brush. Using a paint roller, apply a thin and even coat of your paint.
Technique-wise, we'd suggest that you start in one of the corners of the surface, working slowly in an even motion across the concrete. Bear in mind that you'll be adding another few coats, so keep this one thin and discrete. Let the first coat dry completely before applying your second coat of paint.
If you’re looking to achieve a deep colour, repeat the steps and apply a third coat accordingly. As we mentioned, wait at least 24 hours before walking on the surface. Make sure that the paint is completely dry to have a smooth and beautiful finish.
Curious about other ways to work with concrete? Check out some of our other articles:
Looking for something else?
Related articles
The latest industry news, interviews, technologies, and resources.

Editorial Team
•16 Jun 2025
It goes without saying that no one likes to feel cold inside their home, especially when winter knocks on our doors. As insulation in the attic is critical to the preservation of a comfortable indoor temperature, it is important to understand which materials and techniques need to be used to ensure that it is optimal.

Léa Plourde-Archer
•08 Nov 2023
Ceramics look beautiful in almost any home, whether used as a material for the kitchen backsplash or as a beautiful mosaic accent piece on a wall. This material is versatile, low-maintenance, sturdy and with an excellent lifespan if looked after correctly. Another place a tile floor is commonly found is in the bathroom. If you already have one installed, then you’re one step ahead of us.
Editorial Team
•08 Nov 2023
With so many rooms in a home and plenty of decor choices to take care of, the entryway is one area that’s sure to be overlooked time and time again. It’s only natural to underestimate this space, but it’s important to remember that this is the first area of the home guests will encounter as well as the one which will greet you at the end of a long day.

Editorial Team
•03 Nov 2025
Among the many renovation projects out there, painting projects are most accessible to apprentices in the industry. Indeed, painting is part of our daily lives and few are those who can ever say they've never been called to lend a hand to change the appearance of one or more rooms inside a home.
Karine Dutemple
•08 Nov 2023
Do you intend to start a housing construction project shortly? As this project is certainly a large one, it is quite normal to have some concerns or questions about the current increase in the cost of building materials.