
Raw materials are all the rage when it comes to designing modern kitchens. Unlike wood, which is chosen for its essence, veining, and grain, concrete is made from a mixture that’s poured into a mould to create a heavy and uniform mass.
If at one point, concrete was difficult to mesh in a kitchen, however, over time, the material’s tweaks have led to its sought-after aesthetic.
Steps to Pouring a Concrete Countertop

Photo: Wonderlane
A concrete countertop can be poured on-site or precast off-site, but it’s best to pour it off-site for the following reasons: to avoid getting dirty, making a mess inside the kitchen, and having enough space when pouring the concrete to ensure that the finished surface is face-down in the mould. The smooth surface, both visible and useful, will shape itself, whereas if you make your formwork where the countertop will sit, you’ll need to further grind and sand the surface to render it smooth.
1) Build a mould
Cut melamine-coated particle boards into strips to build the edges of the mould, drill two countersunk pilot holes at both ends of the mould and assemble the strips to make a mould. Screw in one coarse wall panel fastener in each pilot hole and into the binding ends to affix the mould’s edges.
2) Screw in the fasteners
Set up a drill into an angle drill guide, and proceed to drill pilot holes for countersunk screws at intervals along the top of the mould and countersink the holes to ensure that the screw heads are slightly sunken into the surface.
3) Affix the formwork to the base
Place the formwork on the base; the melamine side facing upward. Using a carpenter’s square, make sure that the edges are straight. Screw in one countersunk fastener on each side of the formwork, near the midpoint. The screw heads should be slightly lower than the formwork’s edges. Check again to make sure everything is straight, and continue to screw in the fasteners at intervals in the pilot holes. Frequently check to make sure that the fasteners are straight given that the pressure can easily create a gap between the formwork and the edges.
4) Make a hole for the sink (if necessary)
Need a hole for the sink? Using a circular table saw, cut three pieces of MDF panels the same size, then round out the corners as needed and sand them down. Fit the block (hole) into the mould.
5) Finish pouring the concrete
Seal all sides of the mould with polyurethane varnish and caulk the mould with silicone once the varnish is dry.
Add rebar to reinforce the structure. The rebar should extend the mould’s entire perimeter and must be at least 2.54cm away from all sides and the top surface.
Add tie wires around the rebar loops and allow for at least a 1.27 cm gap on top of the concrete. Screw in a few fasteners on the outside of the mould near the top surface and use tie wires to secure the rebar. Once the tie wires are in place, remove the temporary spacers. Make sure the whole is sturdy by adding reinforcement material, such as chicken rolled fencing over the rebar and tying it together.
Make sure that the table on which the mould is placed is sturdy. Add the dry ingredients to a concrete mixer. In a bucket, mix the wet ingredients. While the mixer is turned on, slowly add the wet ingredients to the dry ingredients.
Fill in the mould with the concrete mixture all the way into the corners. Vibrate the mould to ensure that the concrete settles in all the crevices using a rubber mallet or bounce the table off the floor with the help of someone else.
Remove the excess concrete from the mould using a 2 x 4 and slide it over the mould in a back-and-forth motion.
Cut the tie wires holding the rebar loops and push the end of the cut rebar wires under the concrete’s surface.
Smooth out the concrete’s surface using a metal levelling tool like an angle bar or a square metal tube. Work slowly by means of back-and-forth motions and allowing excess water to fill in the extrusion. Since this surface will be the countertop’s underside, no other tool is needed. Cover the concrete with a plastic sheet and allow it to dry and cure without touching it for a week.
Remove the plastic covering and then break up the mould and remove it, without pushing against the freshly poured concrete.
With the help of a friend, turn it over and remove the concrete countertop from the mould.
Clean and seal the concrete countertop.
Make sure that the base cabinets onto which you’re placing the concrete countertop are reinforced and that the plumbing is already installed. Apply a thick layer of silicone-based panel adhesive on top of the cabinets. Then, with the help of someone else, place the concrete countertop atop it. Allow the glue to dry overnight before connecting the sink.
Optional Steps
If you’re making a hole for the sink, you’ll need to cut the slab in any case. Cut out the piece into multiple sections until you’ve completely removed it, doing so carefully as the concrete edges are fragile.
Are you looking to create an extra-polished surface similar to that of natural stone? Grind the surface using finer and finer diamond sanding pads. Then, regularly rinse the surface with clean water. Lastly, if you’ve made a hole, install the sink.
How to Coat a Countertop with Concrete
Pouring a concrete countertop renders an element massive, raw even, but there’s a less challenging alternative: coat your countertop in concrete. Whether it be your kitchen or bathroom countertop, you only need three days to give it a concrete-like appearance. Here are the steps to follow:
Day 1: Clean the countertop and apply two coats of SuperBond adhesive, a primer that’ll provide a permanent adhesion.
Day 2: Mix and apply three coats of Color Mix solution (the pre-coloured solution and packets of factory-prepared, pre-mixed cement make the task easier).
Day 3: Apply one coat of ColorLock sealant to enhance the colour and prevent discolouration. Apply a finishing coat of ProGuard to prevent scratches, stains, and water rings.
By choosing a concrete covering, the finish is both smooth and slightly textured, and you can choose between the following colours: slate, concrete, river rock, onyx, espresso, champagne, and cocoa bean. The covering is really durable, more so than paint, and it resists especially well to impacts and heat.
What Cement to Use for Making a Countertop?
Portland cement is the most commonly used type of cement in concrete mixes for construction projects, including kitchen countertops. Its popularity stems from its durability and ease of use. It's also compatible with various additives that can further enhance its strength and workability.
White cement, a variant of Portland cement, is particularly favored for kitchen countertops due to its neutral color. This feature offers great flexibility for aesthetic finishes. It's ideal for creating colored concrete, allowing for more precise and uniform countertop coloring.
Rapid-setting cement is designed to have a reduced hardening time, allowing for quick finishing such as sanding, polishing, or applying a sealer to the countertop. It's particularly advantageous for projects that need to be completed within short timeframes.
Are you looking for information on how to repair a concrete countertop? Check out our article How to Repair Cracks in Your Concrete Countertop.
What Are the Possible Aesthetics?
The first countertops that were left bare resembled a gray slab and were difficult to mesh with other kitchen-related materials. Concrete furniture is usually quite sleek, but artisans can make a countertop at an angle or with rounded edges, with a hole for the sink or just a single slab. The backsplash can be a part of the same slab, which gives the concrete a severe right angle. Sizes (thickness) vary as well. There are a lot of colours available; up to 40 different hues are available to be used for certain concrete, and you can also add a shell-like shine to create a pearlescent or crushed glass finish. The polish and sealant applied will give the surface a smooth and non-porous aspect.

Photo: DEX_Industries
On top of choosing the material, you can choose the mould in which it’ll be made, so you can cherry-pick the shape of your counter’s edges: double fancy radius, half bullnose, o’gee, fancy, square edge, bendable square, slate, and stone.
Depending on the application, you can mimic the smooth finishes of marble and granite, or simply create a concrete finish that’s more or less coarse. For a smooth finish, move the trowel up and down the concrete, firmly and evenly pressing down over both coats. For a cast concrete look, a uniform look isn’t required.
Are Concrete Counters Eco-Friendly?
According to EcoHome, whether concrete is poured, cast, or composite, it’s versatile and doesn’t emit volatile organic compounds (VOCs), while also being extremely resistant and durable. You can easily purchase local, wholesome, and reclaimed concrete. However, as a downside, concrete materials need to be sealed regularly, have elevated gray energy, and have a hard surface that can stain or crack.
Furthermore, concrete produces dust at all times, therefore the surface has to be protected with a water-based, non-toxic sealer.
Opt for green or ternary blended concrete in which post-industrial waste replaces about 30% of the cement. Thereby, clinker, a compound found in the making of cement, is replaced by industrial by-products. This alternate method renders the cement manufacturing process less harmful to the environment.
Energy and resource consumption, CO2 emissions, and adverse environmental impacts are reduced by this concrete manufacturing process. It’s the making of “recycled concrete.”

Photo: nz_willowherb
As for sealants, those that seep into the concrete are much more durable than those that simply coat the surface, and that can also scratch it. Epoxy sealants are efficient, but emit a reasonable amount of VOCs, which means that once applied on the countertop, the home must be aired out for a couple of days. Professionals recommend comparing sealants based on their VOC content and low-concentration sealants.
Choosing concrete makes it an eco-friendly choice for the following reasons:
Durable, eco-friendly, aesthetic, and low-cost finish;
Very durable and low-maintenance surface;
Old concrete can be polished;
Doesn’t require additional coverage on the slab itself;
Can be used as a thermal mass;
Enhances reflectivity by allowing more natural light to seep in.
What is the price of a concrete countertop?
A concrete countertop costs between $80 to $250 per square foot, the application included. Note that polished concrete is more expensive than smooth concrete, expect to pay about $11 per square foot for a polished countertop.
Are you looking for more information about materials, maintenance, and the different types of countertop renovations? Check out our Countertop Renovation Guide.
Looking for something else?
Related articles
The latest industry news, interviews, technologies, and resources.
Amanda Harvey
•29 May 2026
For many homeowners, the hardest part of starting a home renovation project is finding a reliable contractor to carry out the job. So, if you're wondering how you can locate the best tradesperson for the job, then you've come to the right place! For homeowners that are looking for a quick and cheap home renovation experience, it's likely you're going to get what you pay for.

Editorial Team
•17 Feb 2026
Buying a Carrier heat pump in Canada is rarely “just” about picking a model. Between harsh winters, outdoor unit noise, efficiency (SEER2/HSPF2), and cold-weather performance, it’s easy to feel a bit lost—especially when several models look similar on paper. This article is designed to make things easier and help you make a clear decision, without unnecessary jargon.

Cynthia Pigeon
•10 Jun 2026
Gaining more living space is a priority for many Quebec homeowners. Whether you want to welcome a new child, create a comfortable home office, or add a sun-filled solarium, a home addition is an excellent option. However, the idea of having your yard torn up by heavy machinery and pouring tons of concrete can discourage many homeowners.
Cynthia Pigeon
•15 Jun 2026
The cost of a conversion varies depending on the home’s configuration, the electrical work required, and whether the selected system includes a heat pump. In many cases, the bill is higher when major electrical work or a central heat pump is added. Although the provincial Chauffez vert program ended on March 31, 2026, combining current financial assistance programs, such as Hydro-Québec’s LogisVert grant and the federal OHPA program, can help eligible households significantly reduce their out-of-pocket costs, though a residual cost should generally still be expected. Depending on the price of heating oil, the performance of the heat pump, and the characteristics of the building, heating savings can be significant, but they vary from one property to another.
Editorial Team
•03 Feb 2025
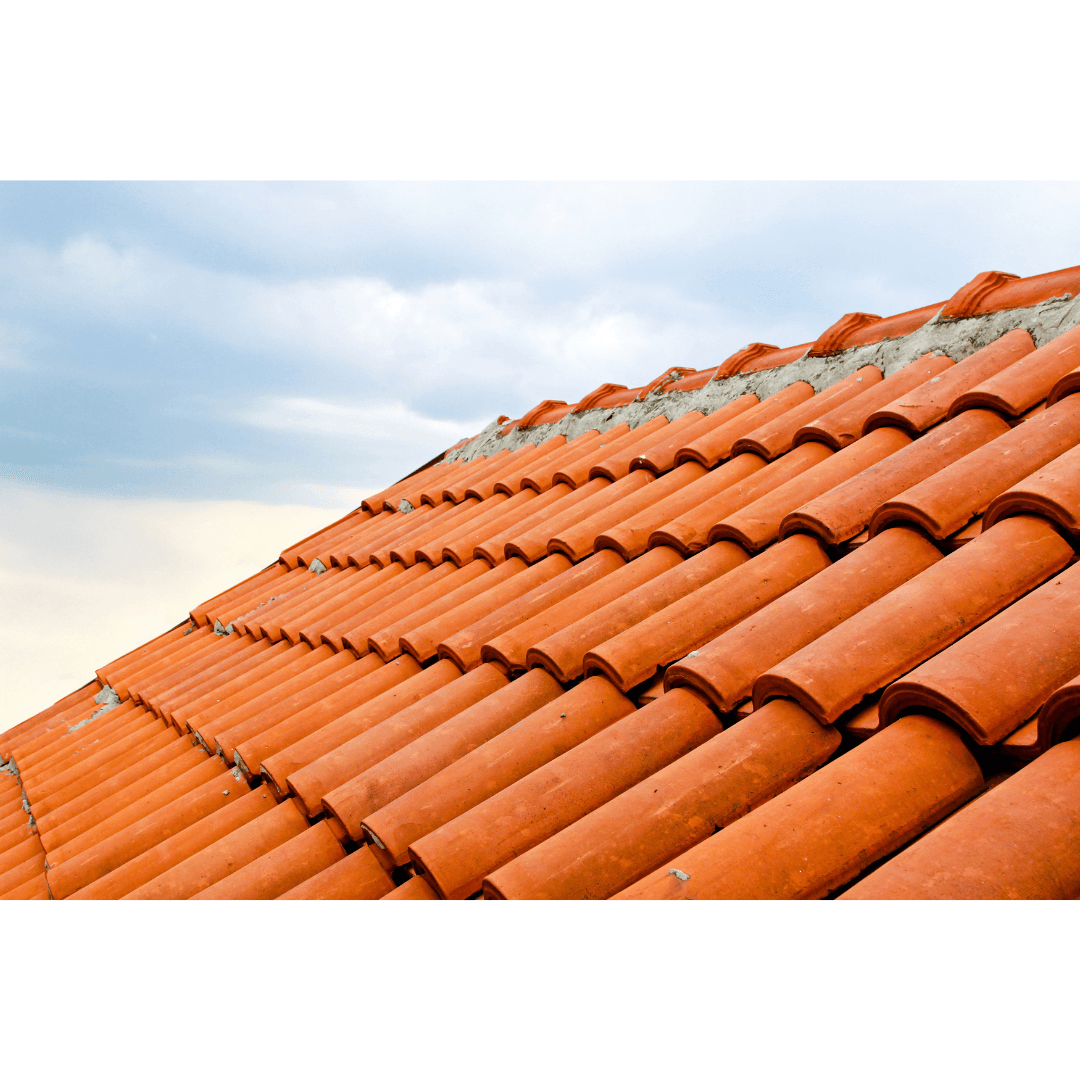
Terracotta roof tiles aren’t customary in Canada. Yet, it’s such a unique material. In some European countries, such as France and Portugal, the majority of homes are accented by terracotta roof tiles. Several businesses offer this sort of roofing installation service, but since it’s not a common option on this side of the ocean, there’s still work to be done to familiarize the greater public with this roofing material.