Whether it’s on a floor, wall, or directly on to-be-installed ceramic tiles, painting ceramic tiles is a relatively simple task. This process can be summed up in three steps: clean, sand, and paint.
If you don’t wish to repeat this process soon thereafter and hope the result lasts a while, it’s best to take your time and carry out each step according to specifications.
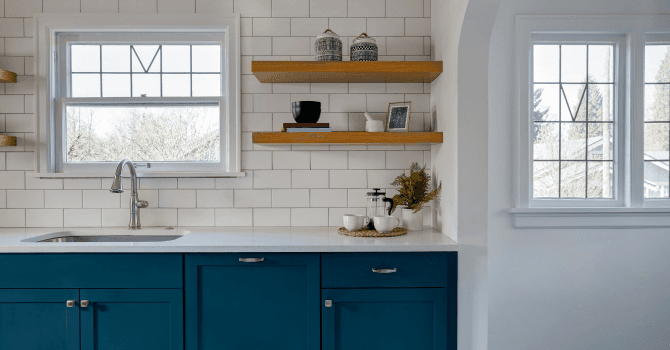
Painting Ceramic Tiles
Source: Canva
First off, you’ll need a ceramic primer and paint. Independent retailers and department stores carry a variety of ceramic tile painting products, and some will recommend kitchen and bathroom paint, while others will suggest furniture and cabinet paint.
Keep in mind that paint has to be room-specific, otherwise, you risk having to repeat the process much earlier than intended.
Painting a tiled wall near a water-prone area or a room in which the humidity levels are elevated can make the paint peel shortly thereafter.
If you decide on painting a tiled countertop, it’s imperative to ensure that the latter is resistant to potential sources of heat, like a warm pot or pan. Furthermore, the tiles could be vulnerable to scratches when in contact with knife blades or other utensils.
You’ll also need to exercise good judgment when it comes to the state of the surface-to-be-painted: If it’s too damaged, it’s best repaired entirely. And that way, you can pick the colour you want right away, thus avoiding having to paint the tiles afterwards.
How to Paint Your Ceramic Tiles
Prior to laying your ceramic tiles, you may choose to change the colour of your bathroom altogether. If you want to lay tiles on walls that match that of the painted walls, you can opt for a quick and cheap solution: repaint the to-be-installed tiles.
To paint your ceramic tiles, you’ll need protective gloves, heavy-duty cleaner (TSP - trisodium phosphate), rag, medium grit sandpaper, primer, foam paint roll, paint, and varnish (should you want to varnish the tiles as a last step). Note that some primers and paints are water- or oil-based. Avoid layering a water-based product onto an oil-based one.
A ceramic bathroom floor requires a few more pointers—ensure that you consult our article to know exactly how to renovate a ceramic bathroom floor.
Follow the steps detailed below:
Thoroughly clean the tiles with a cleaner;
Dry the tiles;
Sand with the palm of the hand for an even surface;
Dust tiles;
Spread primer with a roller;
Wait until the primer dries;
Apply colour.
Repainting the tiles is a quick and easy method, however, the less durable one long term. Note that ceramic floors tend to wear and scratch more easily compared to walls.
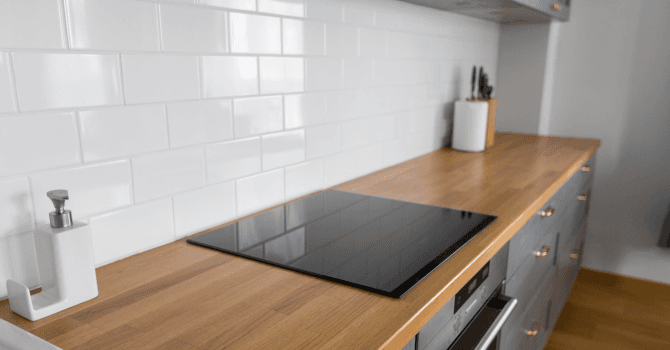
How to Paint a Ceramic Kitchen Backsplash

Source: Canva
After several years, chances are that you may want to change the look of your old tiled backsplash to give it a colour that better fits the rest of the décor. To paint your kitchen backsplash, you can use the following tools/products:
Protective mask;
All-purpose cleaner;
Rag;
Sander with 400- or 600-grit sandpaper;
Primer;
Synthetic silk paintbrush;
Vacuum;
Furniture or cabinet paint.
Follow the steps detailed below:
Wear a protective mask;
Thoroughly clean the surfaces with an all-purpose cleaner that won’t leave any residue behind;
There should be no traces of dust, dirt, or mould left behind;
Rinse and dry the surfaces thoroughly;
Sand with 150-grit paper, light and even sanding will suffice;
Wipe the surfaces with a damp rag;
Apply a coat of primer with a synthetic silk paintbrush;
Allow that coat to dry for 3 hours;
Lightly sand the dry coat of primer with 220-grit sandpaper;
Vacuum up the dust and wipe all surfaces with a damp rag;
Apply two coats of furniture and cabinet paint;
Wait 5 hours between the two coats.
The above-detailed process gives your ceramic kitchen backsplash hard-wearing quality when exposed to repeated cleanings, spots, and scratches.
What are some tile painting tips?
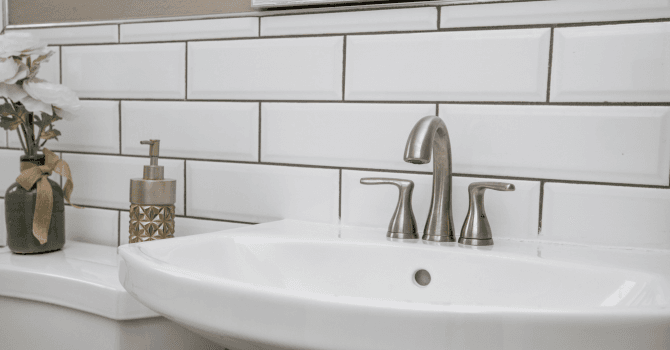
Source: Canva
Kitchen and bathroom ceramic tiles may need to be redone after quite some time. You can always decide to paint them, however, beware! Adding a coat of paint won’t fix any damage. If some of the tiles need a little repair prior to receiving a coat of paint, make sure to do so beforehand. Note that flooring tiles require more heavy-duty paint than wall tiles would need since floors are constantly exposed to more friction. Polyurethane paint is quite resistant.
If you wish to proceed in an eco-friendly way, clean the tiles with an all-purpose cleaner to remove all lime stains and white vinegar then rinse the whole with clean water. Once the surface is dry, you can degrease it with an acetone-soaked sponge. Cover all surfaces you don’t wish to paint with adhesive tape.
Then, you can apply a primer on the outer edges of every tile. Once the primer is dry, you can start painting while still ensuring to paint in crisscross strokes for an even-looking result.
Don’t wait until the paint has dried completely before removing the adhesive tape to prevent the paint from chipping, and apply touch-ups where needed.
Looking for something else?
Related articles
The latest industry news, interviews, technologies, and resources.
Cynthia Pigeon
•30 Apr 2026
Kitchen cabinet refacing can save you 30% to 50% compared to a full kitchen renovation while delivering a fresh, updated look. It’s an ideal option if your cabinet boxes are still structurally sound and your current kitchen layout works well. However, a full replacement is recommended if you want to improve functionality or if your cabinets show signs of moisture damage, mould, or structural wear.
Karine Dutemple
•08 Nov 2023
For every storage space at home, there is inevitable long-term chaos. Fortunately for us, there are now many ways to organize these spaces, whether it's the wardrobe, kitchen cabinets or rooms like the laundry room. Apart from Ikea's convenient facilities, there are other ingenious and original tips that will help you optimize the organization of your closets.

Léa Plourde-Archer
•27 May 2025
Building a porch on the façade of your home can offer a beautiful addition to the great outdoors. Whether entertaining or simply enjoying a summer evening breeze, homeowners like yourself often splurge to add this home accompaniment. But with any renovation project, there are always costs involved. So, exactly how much does it cost to build a brand new porch?

Editorial Team
•18 Dec 2024
Now more than ever, windows are paramount features in the construction equation. In fact, due to innovative solutions, windows can control luminosity, regulate heat, prevent condensation, etc. All of this to, in the end, create modular spaces meeting specific requirements.
Équipe éditoriale
•09 Jun 2025
No surprise here, interior sliding barn doors are gaining traction with interior designers and homeowners alike. Surely, their functional and stylish nature, suited to any home, regardless of the décor, has something to do with it. Whether it's a single or double barn door, there's no doubt about it, they add a rustic touch to the overall aesthetic without overwhelming the space in question. And, they're retailed in a variety of designs and sizes, tailored to conceal and reveal with an effortless motion.